Smooth Garlic Hummus
I think I was in sixth or seventh grade when I first heard about hummus. One of my classmates probably brought it in their packed lunch, with a pack of carrot sticks or some pita bread. My hometown was (and still is) definitely the kind of place where sixth graders are excited about eating hummus and carrots for lunch.
Unfortunately, I was horrified by the idea of eating hummus. For the better part of my childhood, I thought that hummus (ground chickpeas with tahini paste) and HUMUS (fully decomposed soil) were the same thing. I was all for eating the fruits of the earth, but the earth itself? NO WAY.
The connections one makes as a child are truly fascinating, aren’t they?
Now, however, I know the truth. I know that in fact, that extra “m” makes a HUGE and delicious difference. What’s more, hummus is an incredibly easy and inexpensive snack to make.
And it starts, of course, with chick peas.
Chick peas, or garbanzo beans, are an ancient legume originally cultivated in the Middle East. Like most beans, you can buy them dried or canned, and either will work to make hummus, though dried beans would obviously require the additional step of cooking the beans. My initiative to learn how to make hummus at all was due to a can of chick peas I inherited from a friend’s moving-away-pantry-cleanout, so I opted for the canned this time around.
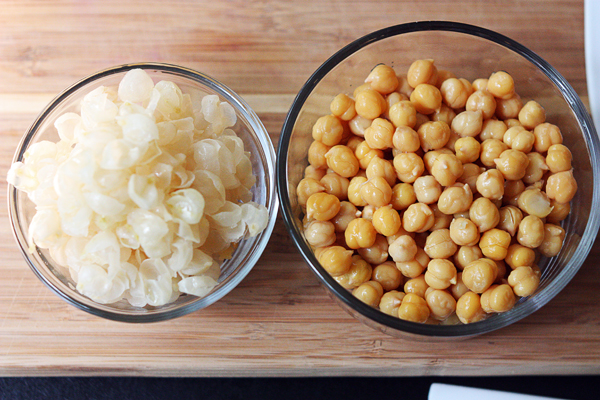
I’d made hummus before, only once, but I didn’t really like the way it turned out. It was somewhat clumpy, and had what I can only define as a gritty texture. It turns out the answer to making a really smooth hummus is to simply peel the chick peas!
And before you balk: yes, you have to peel each chick pea by hand, but it doesn’t take long! I think it took me a whole twenty minutes to liberate each chick pea from it’s skin, and I actually rather enjoyed the satisfying little pop! as I popped each one out.
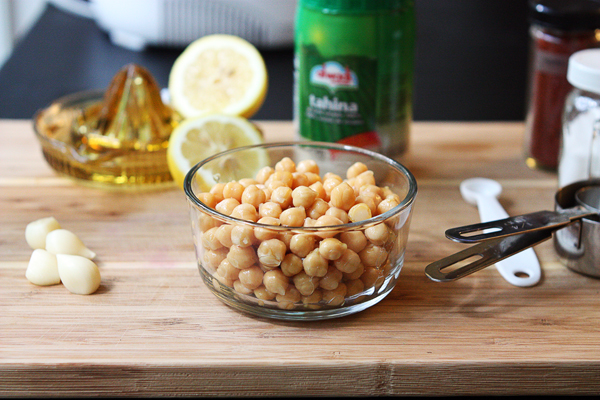
Once the chick peas are peeled, the smooth dip you’re craving is only a few minutes away. A whirl in the food processor and the addition of garlic, tahina paste, a bit of lemon juice and seasoning are all that remain.
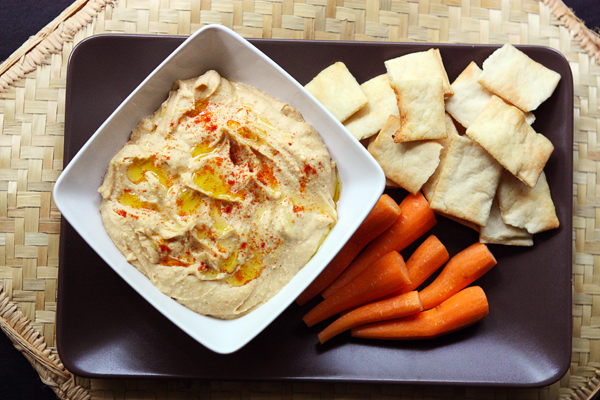
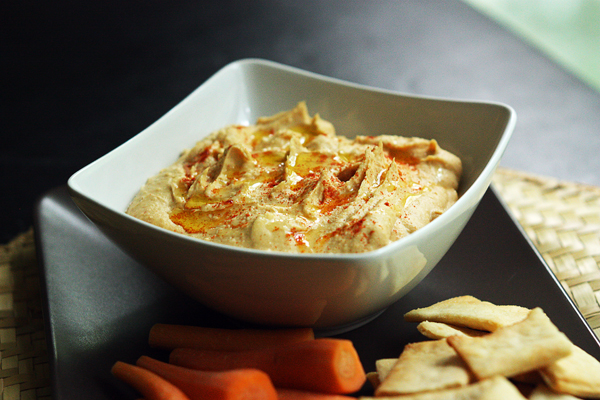
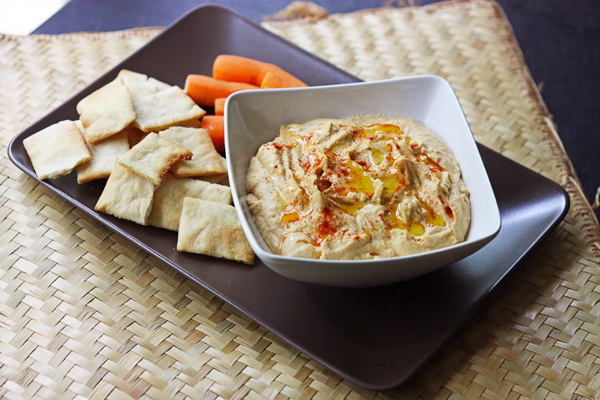
So what now? I dressed my hummus up a little bit with a sprinkle of paprika and a drizzle of olive oil, but you can serve it just like it is.
What you’re left with is a punchy, garlicky hummus that tastes great on just about everything. Use it as a dip, a sandwich spread, or a topping on toast!
Do not use it for gardening. May any confusion you have between hummus and humus stop here.
Smooth Garlic Hummus
Adapted from Smitten Kitchen
one 15-oz can chick peas or garbanzo beans, drained
1/2 c tahina paste
juice of one lemon, about 2 tablespoons
4 cloves garlic
1 tsp table salt
1/2 tsp paprika
1/4 c water
olive oil & additional paprika for serving
Remove skins from the chick peas. You can do this quickly and easily by placing the chick pea between the thumb and index finger with the pointy end toward your palm and squeezing gently until the chick pea pops right out.
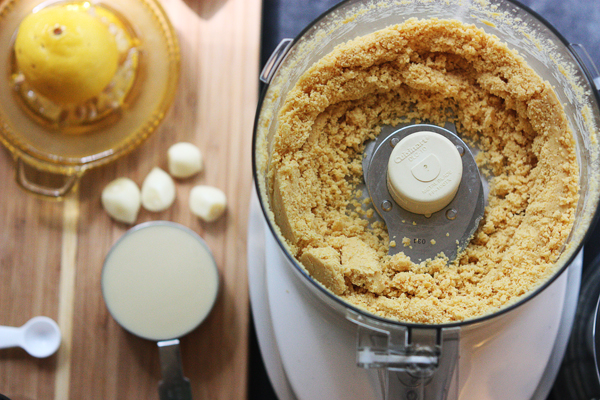
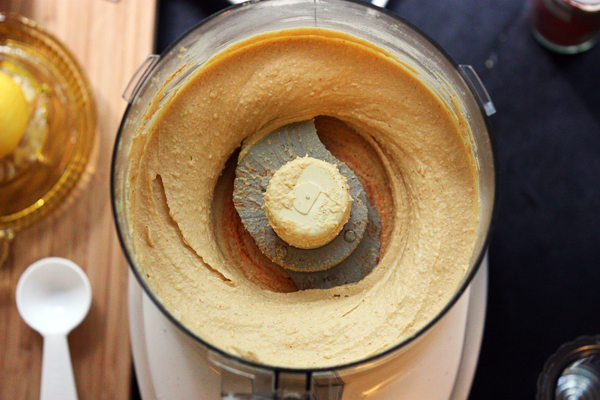
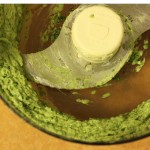
Pulse the chick peas in a food processor until light, powdery clumps are formed, about 45 seconds. Add tahina paste, lemon juice, garlic, salt, and paprika. Blend until thoroughly combined, scraping down the sides several times. Leave the food processor in the on position and slowly drizzle the water through the spout until the mixture is smooth and creamy. Adjust seasoning to taste.
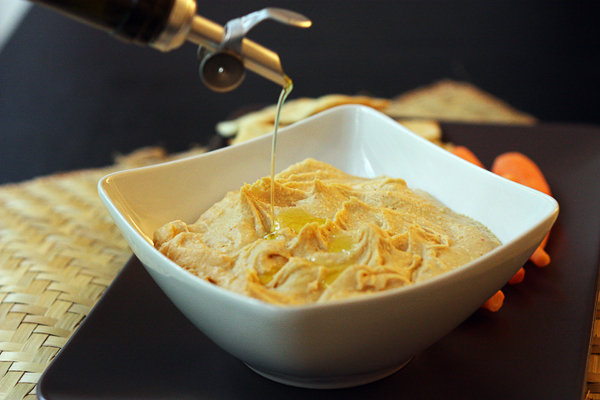
Spoon hummus into a serving bowl and drizzle lightly with olive oil and sprinkle with a bit more paprika. Serve with pita chips or pita and carrots.



Diane
August 4, 2013 @ 1:53 pm
Durango HS actually served hummus last year in the cafeteria!
Kristi @ 30 Pounds of Apples
August 5, 2013 @ 12:45 am
Amazing! You know, Megan was actually the friend I was remembering who first introduced me to hummus. Funny you should be the first to comment on this post!
Eileen
August 4, 2013 @ 8:58 pm
Hooray for hummus! I keep hearing about the amazing results you can get with peeled chickpeas–so I think I’m going to have to give it a try. Yay!
Kristi @ 30 Pounds of Apples
August 5, 2013 @ 12:44 am
Do it! You won’t regret it!
Smooth Garlic Hummus | Recipe Archive
August 6, 2013 @ 6:26 pm
[…] View Recipe Ingredients & Preparation Instructions […]