How To’sday: How to Bake Flat Cakes That Come Right Out of the Pan
I’ve been coaxing cakes out of cake pans for a long time now, and in that time I’ve had a number of really epic failures. Many a tear was shed over ruined Super Mario cakes, layers torn in half and plucked out of pans with a fork… there’s a reason that many of my decorated practice and competition cakes were actually beautifully-iced styrofoam cylinders.
To this day, I still experience a thrill of fear each time I flip a cake out onto a cooling rack. But that fear is rarely founded. Because in spite of the occasional disaster, I learned a few tricks early in my cake decorating days that I swear by for ensuring that cakes cake out of the pan, cleanly and level, every single time.
Here’s how to do it!
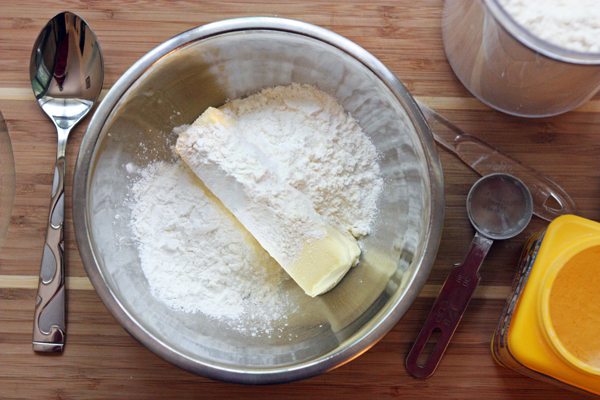
Begin by making a batch of Pan Coating. Pan Coating is like an easy version of greasing and flouring a pan, but it’s much easier to work with. It contains shortening, corn starch, and flour in a ratio of 8T:3T:3T. For ease, I usually make a double batch, which will last for dozens of layers of cake.
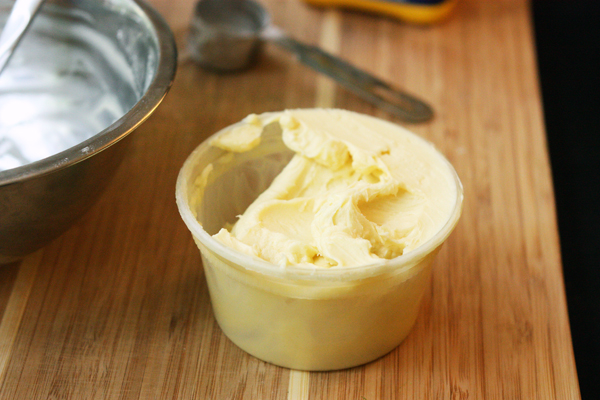
Cream together the ingredients – I use 1 c shortening, 3/8 c corn starch, and 3/8 c flour – in a medium bowl until thoroughly combined. It’s kinda lazy, but I use baking sticks of Crisco, which are already measured into one-cup sticks. I really detest washing Crisco out of measuring cups…
Store pan coating in an airtight container in the pantry.
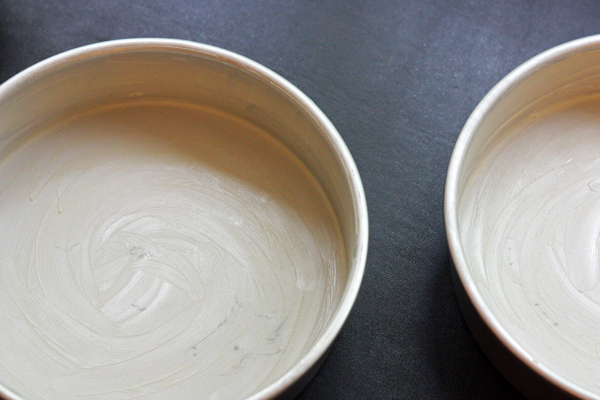
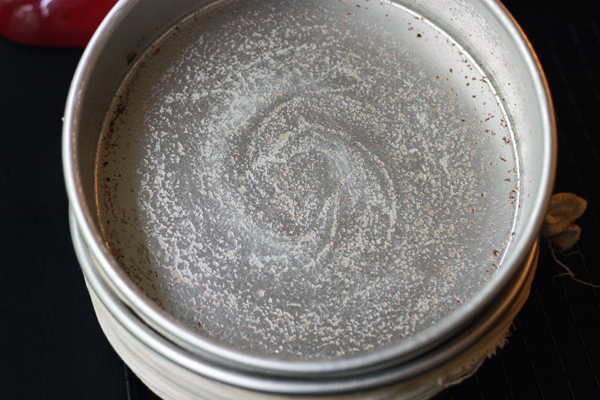
Using your fingers, generously spread pan coating evenly over the bottom and sides of the cakes pans you’re using for baking, paying special attention to the corners. Take care not to spread the coating too thin or it won’t be very effective.
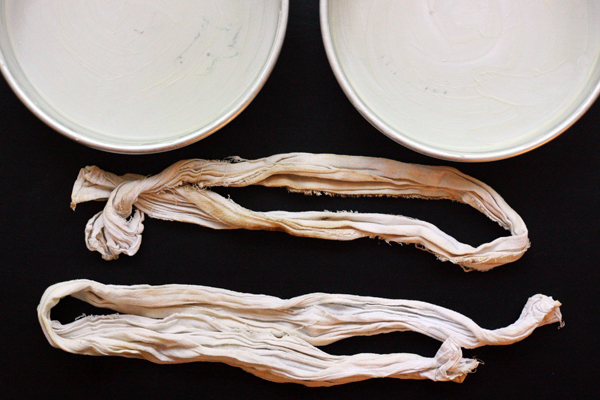
Next! You know how cakes sometimes form a dome, no matter how carefully you bake them? This occurs because the outer edges are baking faster than the center. To keep the temperatures more constant, I cool down the outsides of the pans with damp strips of tea towels. Now yes, you can buy fancy-pants baking strips that will do the same thing, but I’ve been well-served by these old, singled strips of towel for five years. They can be tied together for larger layers or used on their own for smaller layers. And no, they won’t catch on fire in your oven unless you drop and leave them on the element. So don’t do that.
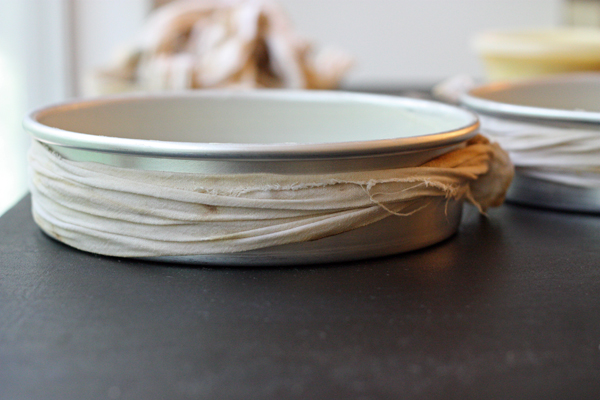
Soak the towel strips under a faucet and squeeze out excess water. Wrap the strips tightly around each cake pan, tying a simple knot on each to keep it in place. Carefully adjust the strip so that the towel covers as much of the sides as possible.
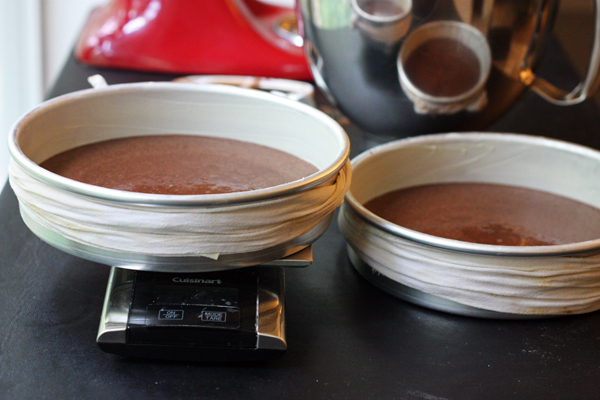
Once your pans are prepared, begin making your batter! (I always prep my pans before I start mixing batter or preheating the oven. Especially if making large or many layers, the prep can take much longer than expected.) To ensure that your layers come out evenly, use a kitchen scale to weigh the batter as you pour it into each pan, setting the scale to zero after adding the empty pan to the scale. Then bake bake bake!
A note on baking, while we’re here: it is very tempting to check your cakes every few minutes. DON’T DO IT. Every time you open the oven door, you influence the temperature inside the oven; every time you pull out a rack, you disturb the cake as it makes it’s magical transformation from liquid batter to delicate crumb. Once the cake is close to the estimated baking time, test the cake with a toothpick to ensure it comes out clean.
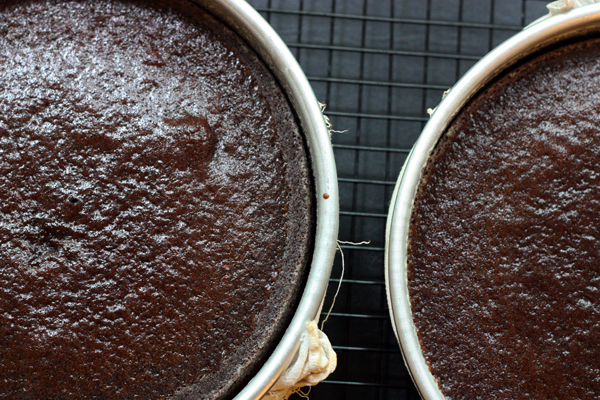
Once the cakes are done, remove them to a cooling rack. Leave the cakes in the pan for 5-10 minutes. The cakes will begin to release from the sides of the pan slightly as they begin to cool. Once the cakes have rested, run a knife around the cake to release any remaining sections from the wall of the pan. Place a cooling rack on top of the pan and, using oven mitts, carefully flip over the pan and rack. You will feel a slight drop as the cake releases from the bottom of the pan. If you don’t, tap lightly on the top of the pan to release the cake.
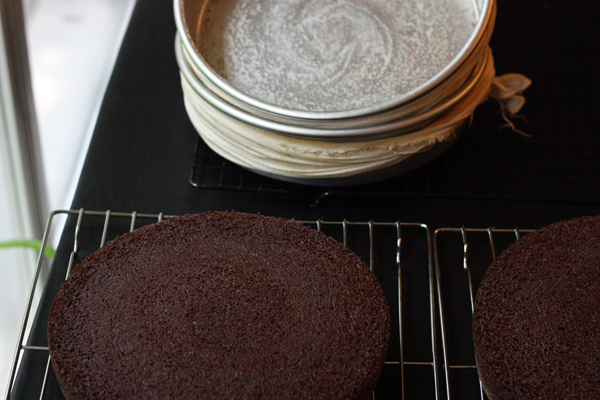
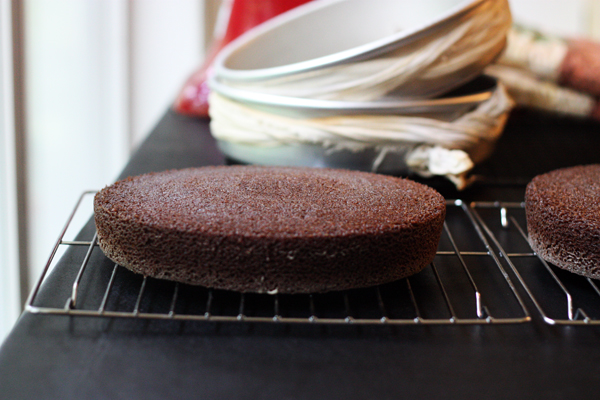
Ta da! Out it comes, with barely a crumb out of place. With the help of the tea towels (which can be removed and reused) the cake baked fairly flat, and the pan coating practically pushed it out of the pan. Now to be fair, some recipes are more cooperative than others. However, I seldom have a cake that comes out much worse than this these days. It’s so much more fun to ice a cake when you have a nice, clean, smooth surface to start with!
How do you get cakes out of the pan? What are your favorite techniques?



Kate.
June 18, 2013 @ 11:34 am
I don’t worry so much about the dome shape. Someone once taught me to flip the top layer of the cake so that the domed side is down – thus putting the flat side that was in the bottom of the pan facing up – and just fill the edges with frosting. p.s I do think your tea towels look fancy/professional. ;)
Suzy
June 18, 2013 @ 1:51 pm
These tips really work! And it gave us a use for those old & soft dish towels! Ah, memories of Cindy, 4-H, lots of cake decorating in July and August, and the County Fair! I still remember when someone’s cake arrived at the practice session, broken in half and full of gravel!
JW_Umbrella Treasury
June 20, 2013 @ 6:24 am
These are great tips! I, too, have been distressed over cakes that refuse to come out of the pans cleanly. I’ll have to try your recipe for pan coating (I’ve been using just shortening and flour — I’m sure the corn starch will help!)
James Hawker
June 23, 2013 @ 8:32 am
Thanks the tea towel strips trick worked a treat. I was wondering only the other day about how to get rid of the dome shape without messing around with a cake cutting wire.
Sarah M
June 24, 2013 @ 1:07 am
I’ve been meaning to ask you for the pan coating mixture. It seemed to work ridiculously well on the wedding cake! Curiosity, how long is the shelf life for the mixture?
Kristi @ 30 Pounds of Apples
June 30, 2013 @ 11:02 am
To be honest, I never really have it around long enough to know how long it can go, but I would say it can keep at least a year?
Laura O
August 8, 2013 @ 6:02 pm
Wow! These are fantastic tips that I can’t wait to try! Thanks!
Virginia
December 5, 2014 @ 3:50 am
Came across this site while researching the words ‘flat cake’ for a crossword! Am intrigued at your method for removing a cake from it’s pan. After many failures I was given the following by a chef: liberally coat the pan with butter or substitute and shake dry breadcrumbs over – I can say that I have never had a failure with it in about 30 years of baking. I actually use baking paper most often now but still use this method for my favorite fluted pan. Can’t wait to try the wet towels for a flat top. I’ve never managed one! Love your blog.
Denise
March 23, 2016 @ 1:09 pm
Thanks for sharing this very important tips, i will give it a try.