DIY Greek Yogurt
I spend a lot of time contemplating my groceries. And frankly, rather a lot of time getting them. The bulk of them come from the farmers market: stall by stall, I buy some eggs here, zucchini there, a pound of pecans or cheese when I’m feeling flush. But I am rarely able to get everything I need at this weekly market. Due to rather restrictive small dairy laws in North Carolina, it’s nearly impossible to get liquid dairy products (like milk or cream) from a small farm. Needless to say, my cart at the grocery store often suggests that I need a cow of my own. Milk, cream, yogurt, cream cheese, cottage cheese… I get a lot of funny looks from cashiers.
Well I can’t have a cow. I’m sure the neighbors below us wouldn’t appreciate it. But I CAN mark another dairy product off the list of things to buy. It turns out yogurt is really, really easy to make. No rennet, no citric acid, no stretching, no aging (well, 8 hours), no cheese wax: all you really need to start yogurt is milk. And, of course, a little bit of yogurt.
At the risk of sounding icky, it’s important to know what yogurt is to understand why this method works. Yogurt is essentially milk that has been fermented by bacteria, and in most yogurts, the bacteria remains active. Seen the phrases “pro-biotic” and “active” on your yogurt? That’s a nice way of saying it’s basically alive. But don’t be grossed out! These are happy yogurt bacteria. With smiling little bacteria faces.
Anyway.
So we know what yogurt is. The process of making it is pretty straight forward. Milk is heated and then slightly cooled, yogurt culture (or yogurt starter, or a bit of yogurt, no need to bicker on semantics) is added to the milk, and then the whole mixture is poured into jars or bottles and must sit, quite warmly, for several hours to transform into Cinderella.
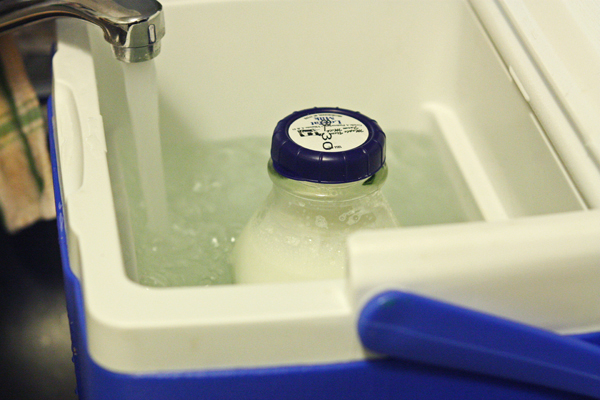
Now it may seem like there’s a hitch here: how do you keep milk still, warm, but not cooking for 6-8 hours? I’ve not tried it, but one option is to keep an oven warm with the jars resting inside. But who wants to hold up their oven for 8 hours? Not this lady. I prefer to use my little mini cooler (named Stanina, for reasons I now forget) to keep my yogurt happy. The same insulation that keep ice from melting when we take this on road trips will now keep piping hot water at temperature through the entire process. For extra insulation, I you can wrap a crazy printed towel around the cooler, as well. For snuggly yogurt.
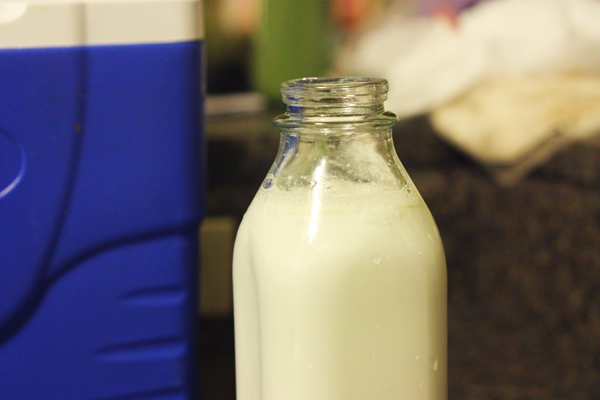
And after eight hours or so, or overnight if you are not as rushed in the mornings as I am, you’ll have yogurt! Well, almost.
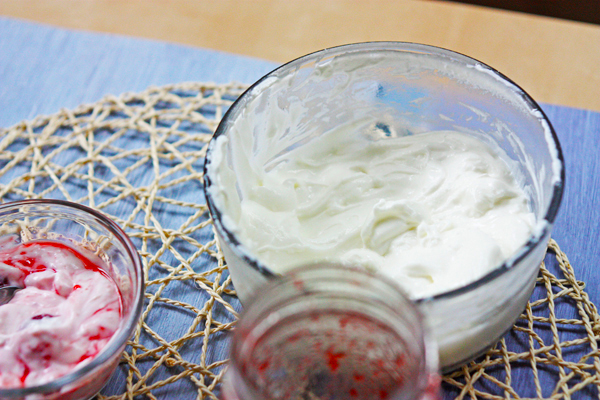
If you want, you can use the yogurt as it is right out of the cooler. With a bit of whisking, it will form a flowy, classic plain yogurt. But with just a bit of straining to remove the whey, you can produce a creamy, dreamy Greek yogurt that I, personally, find much more versatile. Greek yogurt is thicker, approximately the consistency of sour cream, and I actually use it in place of sour cream quite a lot. In addition to replacing sour cream, it can sub in for mayonnaise in chicken salad, can add body to cream sauces, and makes a pretty decent base for creamy dips.
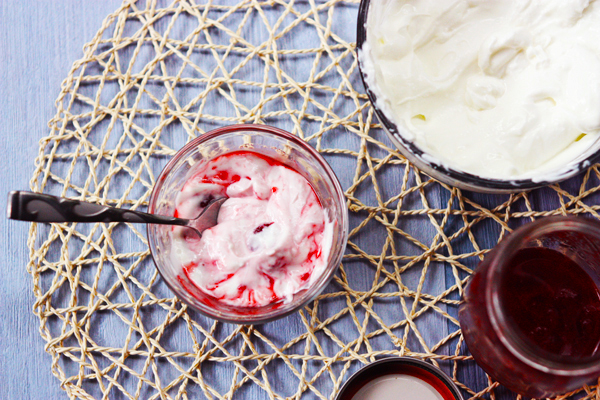
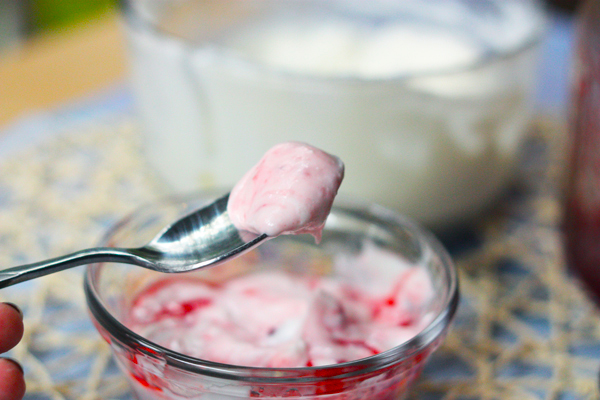
But my number one love for yogurt, still, is with with a bit of homemade strawberry preserves stirred in and served up for breakfast. Homemade yogurt with home canned strawberries? Aces.
DIY Greek Yogurt
Adapted, barely, from The Art of Doing Stuff
Ingredients
1/2 gallon milk
1/4 c plain yogurt with active cultures (I use Chobani)
Equipment
stainless steel pot, at least 3 quart size
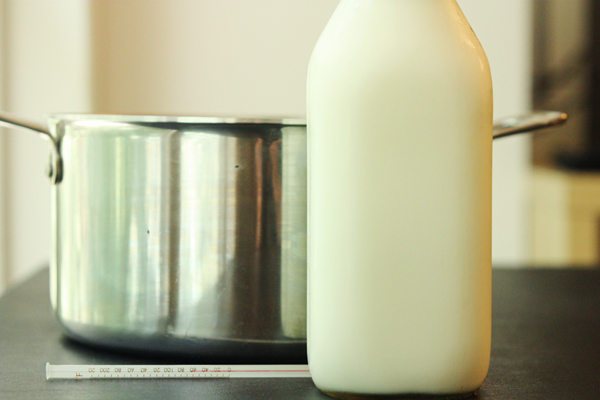
dairy thermometer
whisk
two quart-size glass jars or bottles with lids
small cooler, tall enough to enclose the glass jars
cheese cloth or tea towel
strainer
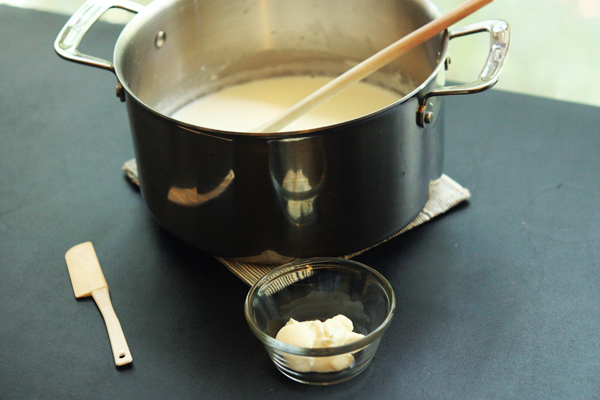
Heat milk in a stainless steel pot over medium heat, stirring frequently, until milk reaches 180°F. Remove from the heat and allow to cool to 115°F.
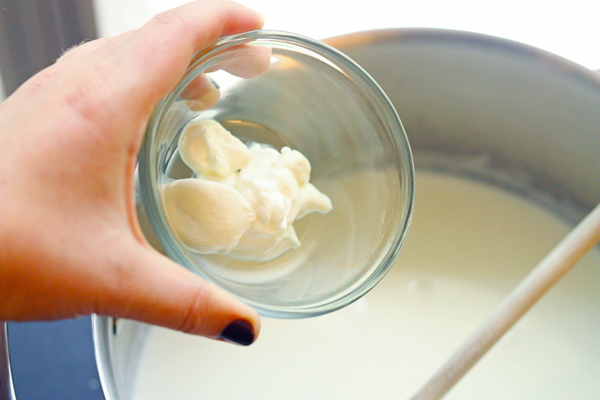
Stir yogurt into milk and whisk well. Pour milk mixture into glass jars or bottles and secure lids. Place jars into the cooler, and place the cooler in a place where it can sit undisturbed for 8-12 hours.
Turn on your water faucet to the hottest setting. Fill the cooler with very hot water until jars the water completely covers the milk in the jars. Close the lid and wrap a towel around the cooler. Allow to sit, undisturbed, for at least 8 hours or overnight.
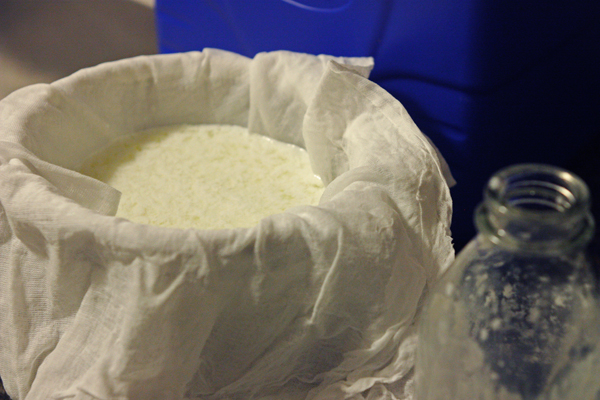
After the yogurt has rested, line a strainer with cheese cloth or a tea towel over a medium bowl. Remove the glass jars from the cooler and pour the yogurt into the cheese cloth. Allow the whey to drain off for 10-15 minutes, tipping the cheese cloth a bit to release additional whey. Once the yogurt has reached your desired consistency, remove it from the cheese cloth and whisk well. Store in an airtight container.
To ensure you have enough yogurt starter to make your next batch, reserve 1/4 c of yogurt in a separate container.


sarah
September 28, 2012 @ 10:53 am
I make our yogurt, the method is almost identical (including draining it!) but I pour the milk mixture into 48 oz thermos containers, as recommended in the book Milk. It works perfectly! So if anyone wants to try but doesn’t have a cooler, the thermos method works just as well.
Kristi @ 30 Pounds of Apples
September 29, 2012 @ 10:13 pm
It’s interesting the things that different people have… I have never owned a thermos, but I’ve always had a mini cooler in the house.
sarah
September 29, 2012 @ 10:57 am
I preheat my oven for about 3 minutes, just to hop up the temp a bit, then leave the light on. This is warm enough for the yogurt to sit overnight.
My husband LOVES yogurt and I started making it years ago and divying it into 1 cup reusable containers, sweetened and flavored with vanilla.
The Greek Gods yogurt gives me the thickest yogurt of any brand. I do not stain the yogurt; I use 1 gallon milk to 1/2 container of Greek yogurt.
sarah
September 29, 2012 @ 10:58 am
-I turn the oven off after preheating.
Kristi @ 30 Pounds of Apples
September 29, 2012 @ 10:12 pm
I’ve been wanting to try adding vanilla to mine… and maybe I’ll give that brand a go as well!
Eileen
September 29, 2012 @ 6:24 pm
Hooray for yogurt! I usually buy big tubs of plain yogurt and just strain it in a fine mesh sieve, but making it all from scratch sounds like so much more fun!
Kristi @ 30 Pounds of Apples
September 29, 2012 @ 10:12 pm
Definitely try it, it felt magical!
Antonio Pedulla
December 6, 2012 @ 11:29 pm
Nice blog, If anyone is looking for more information about building a milking machine from a surge bucket. Please visit my site!
Pamela
December 19, 2015 @ 6:56 pm
I have a tip for making Greek style yogurt. I had some powdered skim milk when I was making yogurt one day and I decided to add about a third of a cup of skim milk powder to the milk I was using to make the yogurt. What I did was take a little bit of the milk separately and heat that separately and add the skim milk and keep stirring until there was no powder or lumps left. Then I added all of the skim milk mixture with the regular milk and heated that to 180°F which is 83°C. I have read in several places that it is important not to boil the milk so using a thermometer is important. Then you cool the milk to 120°F or 49°C.
Once the milk has cooled to the proper temperature, I add a little bit of previously made yogurt. I have a container that has Styrofoam on the inside sort of like your cooler idea. And I leave the jar in there for 4 to 8 hours. After that I always chill the yogurt in the refrigerator for at least 8 to 10 hours.
When it is done, it is thick like Greek yogurt but you don’t have to do any extraction of the whey. It doesn’t get watery or anything. The addition of that one third of a cup of skim milk really thickens it up. And it doesn’t change the flavor or the taste of the yogurt either. That’s what I do when I want to make a really thick Greek yogurt style of yogurt.