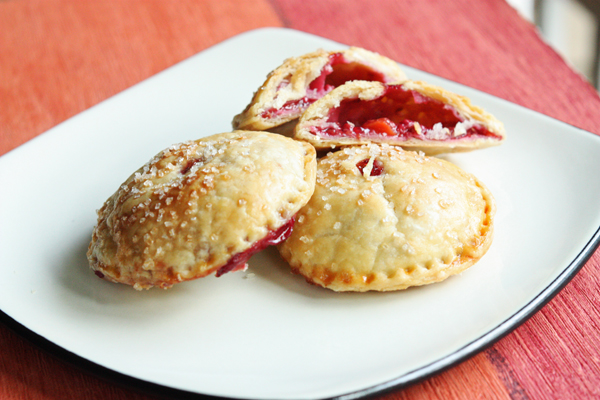
Raspberry Peach Hand Pies
July and August in my childhood meant lots of raspberries. Produce in general, really: my grandparents planted each year a massive garden, and I strongly correlate the start of the school year with boxes of produce on the floor next to the fridge, pan fried okra at dinner almost daily, and raspberries.
Though I love most berries, the raspberry is by far my favorite. Sure, strawberries get a lot of credit as the first fruit of the spring, blueberries sustain me, strong and steady, through the heat of the summer, and blackberries dress up desserts with a splash of deep, fruity decadence. But raspberries, so fragile when picked ripe yet bursting with sweet and tart flavor, will never fade for me.
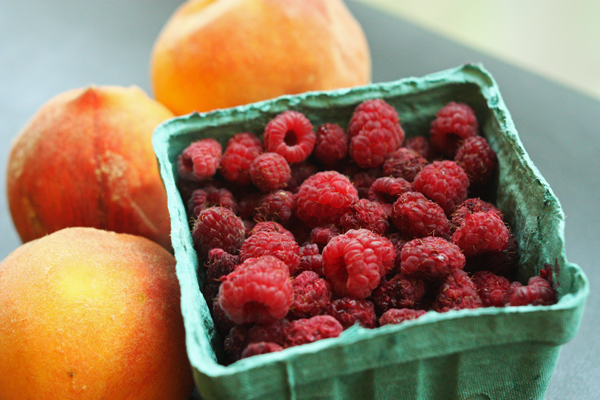
In Durham, raspberries don’t seem to be a popular cultivar. I’m not sure if it’s the climate or what, but I have only ever seen one, maybe two vendors at the farmers market here with these tiny red berries, and when they do it’s usually just a few pints at a time. So each week of the brief raspberry season in this city, I try to take full advantage. This week, I paired them up with a few luscious peaches for some hand pies!
And we can’t have hand pies without pie crust, of course. Until recently, I was very intimidated by pie crusts. But no more! With a recipe I originally adapted from Smitten Kitchen when taking my first stab at a full-blown pie, I now feel ready to take on any pie project that comes my way!
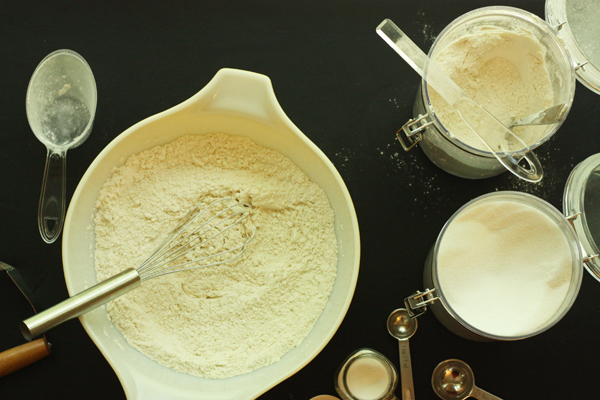
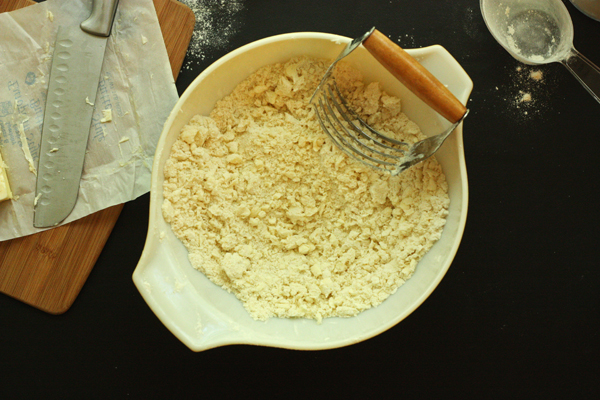
Before I learned to make this crust, I had almost convinced myself to get rid of these wide, low mixing bowls. Brad gave me a snazzy clear glass set for Christmas that doesn’t splatter and doubles easily as a set of serving bowls, and I was trying to think like an efficient non-hoarder.
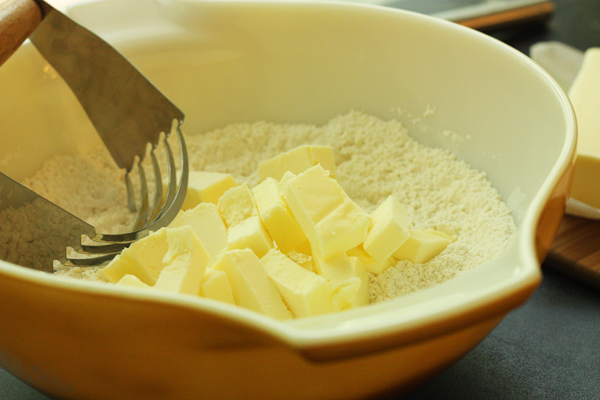
But here’s the thing: pie crust NEEDS a wide, low mixing bowl. Trust me, I tried my first batch in the tall, skinny bowl, and it was way hard to cut the cold butter into the flour. Way hard. So these bowls can breathe a sigh of relief: no trip to the thrift store any time soon.
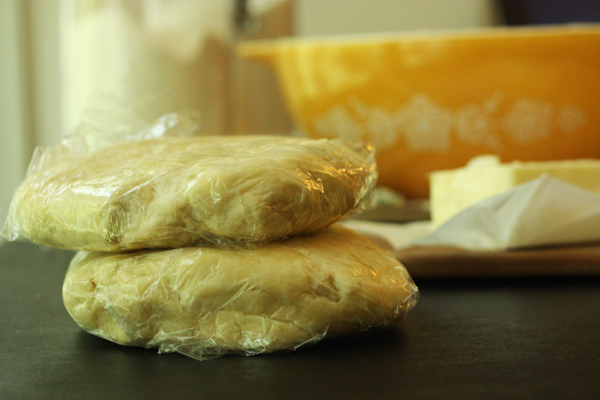
Once the dough is mixed, into the fridge it goes. For at least two hours. Don’t skimp on this. Just use it as an excuse to make yourself breakfast, and later, your pie filling. What starts as sticky, still somewhat disparate globs of butter and flour spends two hours in the fridges and emerges as a cohesive, easily rolled pie dough. So let it do its thing.
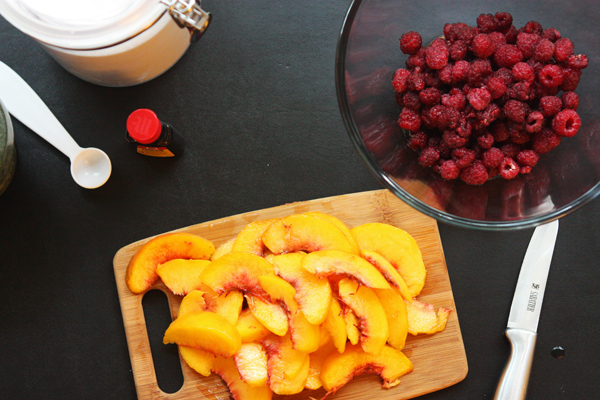
While it is, you can address those gorgeous fruits.
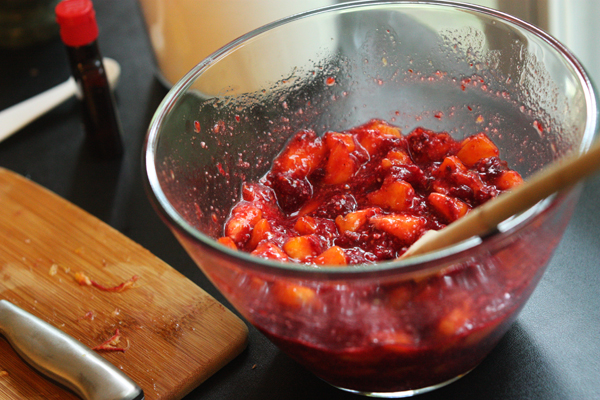
I was ready to abandon my hand pie project and just eat this as a simple fruit salad. This pie filling is as easy as it gets: raw peaches, raw raspberries, a bit of sugar and almond extract, and some instant tapioca to help the juices gel during baking. The peaches were perfect, and the raspberries were so ripe they nearly burst at the first touch of sugar.
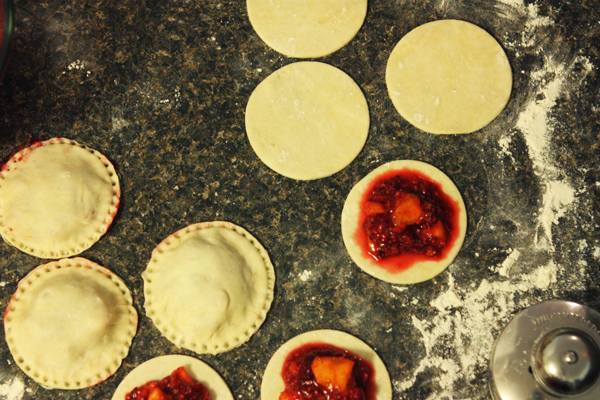
We got pie dough! We got filling! Time to put ’em together in a bunch of tiny pies!
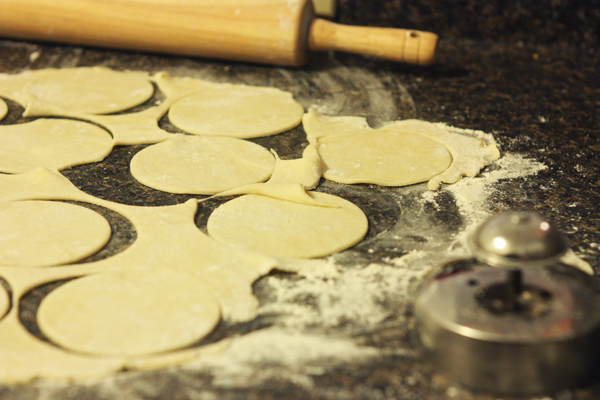
You can use any round cutting device that you want. I happen to have this handy little guy (the silver guy in the front) that cuts the original shape and later seals the pies with a handy built-in press. I’ve used it to make large raviolis, primarily, but it’s perfect for hand pies as well. But for once, the internet failed me: I could not find a link for one to share with you. Mostly because I can’t figure out what the hell to call it (biscuit sealer cutter wasn’t doing the trick). Points to anyone who can find this little treasure online!
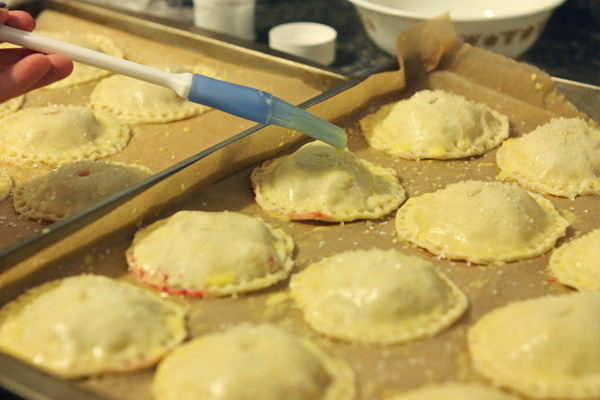
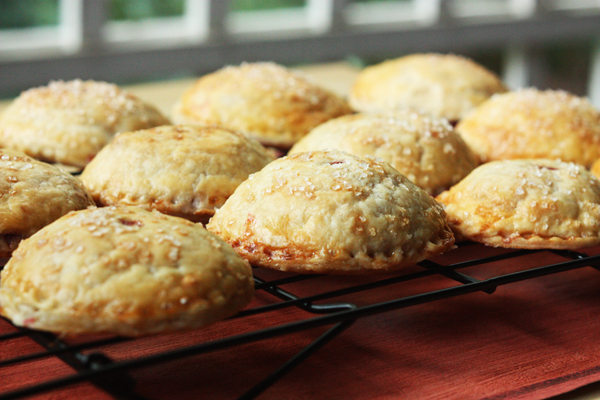
A quick brush of egg wash to give us a nice golden crust, a sprinkle of sugar to make ’em purty, and about 30 minutes in the oven are the only steps left!
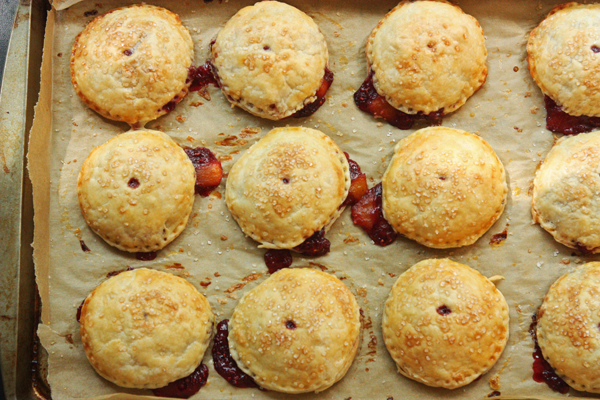
Some of your pies will leak. A little, or a lot. It’s okay! They’ll still taste awesome.
These little pies are a lovely way to show off some of the beautiful fruit that summer has to offer, and are delicious all on their own. They’d also be equally at home snuggled underneath a scoop of vanilla ice cream.
But come to think of it, can you think of a pie that’s not?
Raspberry Peach Hand Pies
Makes 18-22 three-inch hand pies
1 batch pie dough
1 pint fresh raspberries
2 medium-sized yellow peaches, peeled and chopped
1/4 c sugar
1 tsp almond extract
1 1/2 T instant tapioca
1 egg yolk
1 T water
sanding sugar (for decoration)
Prepare the pie dough and allow to chill for two hours in the fridge wrapped in plastic wrap.
After the dough has chilled, preheat the oven to 375 °F. Place raspberries in a medium bowl and set aside. To easily peel the peaches, bring a small pot of water to a boil. Gently place the peaches in the boiling water for 30 seconds or so and then remove them with a slotted spoon. Place the peaches into a dish of cold water or run under cold water until the peaches are no longer warm. Halve the peaches to remove the pit, then slice into 1/2″ pieces and add to the bowl of raspberries. Add sugar, almond extract, and tapioca and mix well. The raspberries will begin to break down and release their juices almost immediately. Set the bowl aside.
Line two large cookie sheets with parchment paper. Dust a clean surface with flour and roll out one disc of your pie dough until it is about 1/8″ thick. Be generous with the flour to prevent the dough from sticking to the counter. Using a large biscuit cutter or other circular cutter about 3″ in diameter, cut out an even number of circles, using as much of the dough as possible. Remove scraps from around circles and press them back together in a ball and return it to the fridge.
For half of the circles, carefully spoon about 2 tablespoons of filling onto the center of each circle. Take the remaining circles and stretch them out slightly so they will completely cover the circles with the filling. Drape this stretched circle over the filling and press the edges down all the way around the circle. If your cutter has a sealing edge, press down firmly to ensure a seal is made. If not, press the tines of a fork around the edge of the circle to ensure the dough seals shut. Repeat until all pies have been sealed and place pies on the cookie sheet about 1/2″ apart. Use the tip of a knife to make a small slit in the top of each pie to allow for venting. Place the cookie sheet in the fridge while you build the rest of the pies.
Roll out the second disc of dough and repeat the pie-building process. Continue to recombine your scraps and re-roll them to maximize the number of pies you can complete.
Once all pies are ready and on the cookie sheets, combine the egg yolk and water in a small bowl and beat until mixture is slightly foamy. Brush over the top of each pie. Finally, sprinkle sanding sugar over all of the pies. The sugar won’t melt during baking, so use as much or as little as you like.
Bake pies at 375 °F for 25-35 minutes or until crusts are golden brown. Pies without a strong seal may leak slightly. Remove pies to a cooling rack and allow to cool for at least 20 minutes before serving.
Pies can be served warm or cool. Serve them by themselves, with vanilla ice cream, vanilla pudding, whipped cream, or whatever makes you happiest. Pies can be stored at room temperature for 3-4 days in an airtight container.



Jen Gibson
August 16, 2012 @ 12:09 am
That gadget is called a Tartmaster!
http://www.pastrychef.com/TART-MASTER_p_1533.html
And the Pyrex Cinderella bowls are amazing. I have the green/white floral set. Love them and the built-in pours and handles. Über usefulness.
Kristi @ 30 Pounds of Apples
August 16, 2012 @ 1:54 pm
Tartmaster! Thanks for the sleuthing! Yes, the pour handles are fantastic.
Eileen
August 16, 2012 @ 2:30 pm
Raspberry and peach sound like the perfect combination! Now I just need to have the patience to make a million tiny individual pies… :)
Kristi @ 30 Pounds of Apples
August 16, 2012 @ 11:46 pm
It didn’t take too long! You could make medium size pies… like a fruit calzone!
Sour Cream Peach Pie |
August 20, 2012 @ 6:02 am
[…] Old Fashioned Peach Lattice Pie from SCK Recipes Ginger Skillet Peach Pie from Butter and Sugar Raspberry Peach Hand Pies from 30 Pounds of Apples Salted Caramel Peach Crumble Pie from Evil […]
Dawnmarie
December 18, 2016 @ 3:14 pm
The device is the Cut-n-Seal by Pampered Chef. I just found mine in a drawer!
Emeline
April 30, 2017 @ 2:42 am
I almost cried when you said you almost took those bowls to the thrift store. I love my Pyrex. My mom and aunts and uncles all claimed my grandmother’s and great grandmother’s bowls when they passed so I’ve been trying to scrounge together my own collection at a reasonable price, a decent set a has a hefty pricetag. But I hate baking in anything but that old school Pyrex curtosey of grandma lol.
Also those baby pies look divine I can’t sit to try to hem for my dance centers bake sale.