Crème Brûlée
A few months ago, I made a vanilla bean cake.
Which left me with an empty vanilla bean pod.
What do you make with an empty vanilla bean pod?
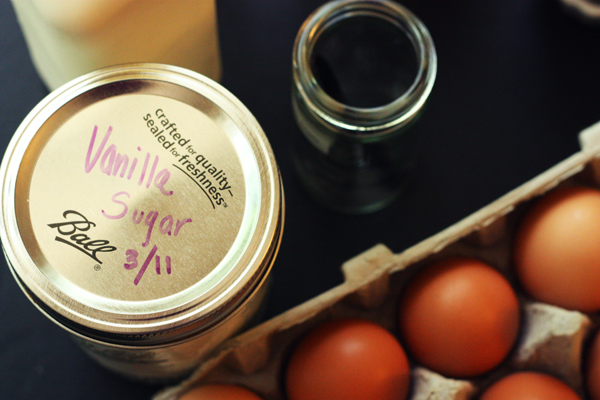
One option is vanilla sugar.
What do you make with vanilla sugar?
One option is crème brûlée.
And what do you need to crème brûlée?
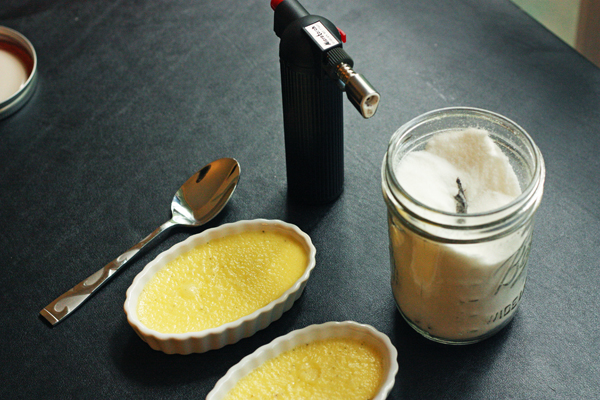
A crème brûlée torch, of course.
So I bought a crème brûlée torch, of course. And a tiny can of butane. And I waited for the vanilla bean to turn some humble white sugar into an aromatic miracle so that I could finally make this decadent, delicate dessert.
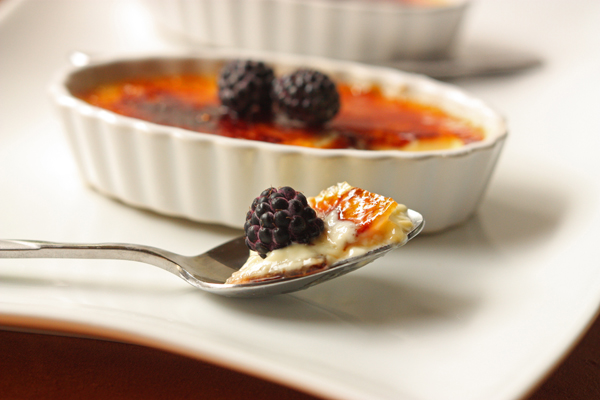
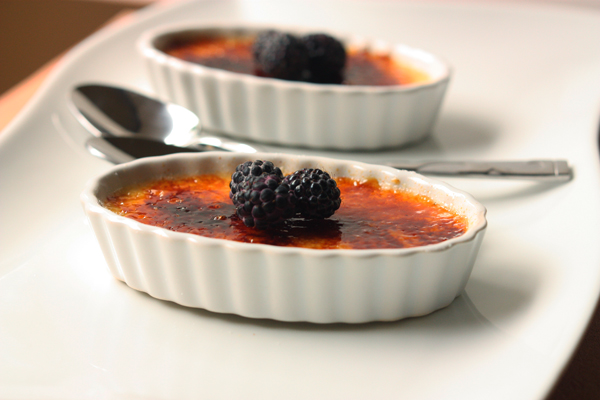
Just to make sure we’re all on the same page: crème brûlée is somewhere between a custard and a pudding, traditionally served in small ramekins, but the true delight is in the thin layer of caramelized sugar that floats on the top of each ramekin.
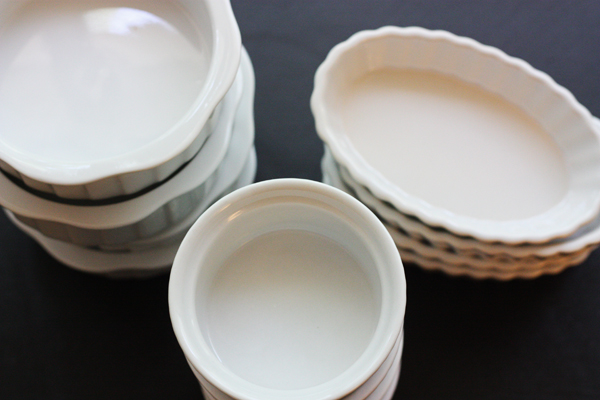
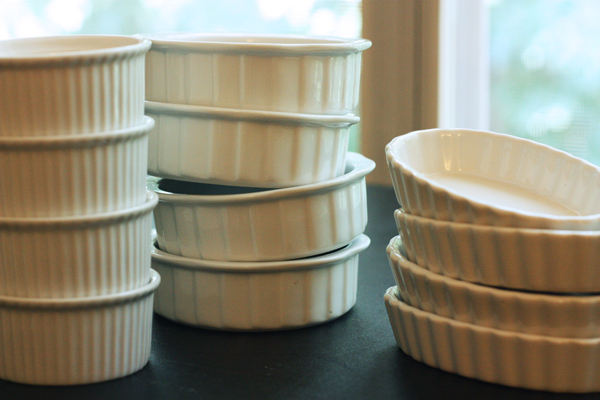
Ramekins are essentially tiny casserole dishes, and they come in all shapes and sizes. I seem to have accumulated twelve of them in the last few years, though with virtually no uniformity whatsoever.
Maybe yours match better than mine. If you don’t have any, fear not: you can find them pretty cheap at most home stores.
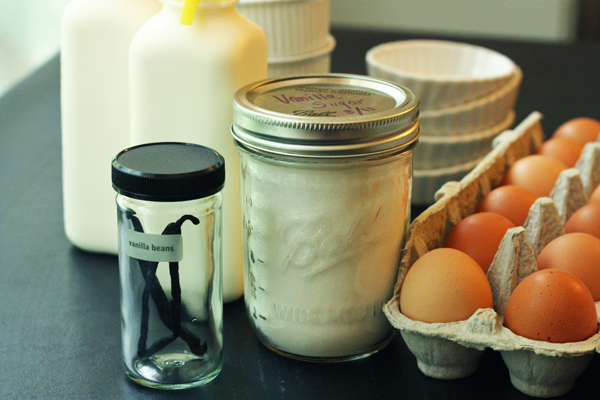
What goes into the ramekins is a pleasant combination of some really basic ingredients (the cream and the eggs) and some fancypants ones (the vanilla and the vanilla sugar).
I am utterly fascinated by vanilla. We’ve all grown accustomed to vanilla as a standard ingredient in many desserts, and of course, as the basic or basics in ice cream flavors. In fact, vanilla is the second most expensive spice in the world, second only to saffron. If you’ve bought a vanilla bean or two lately, you’ll probably agree.
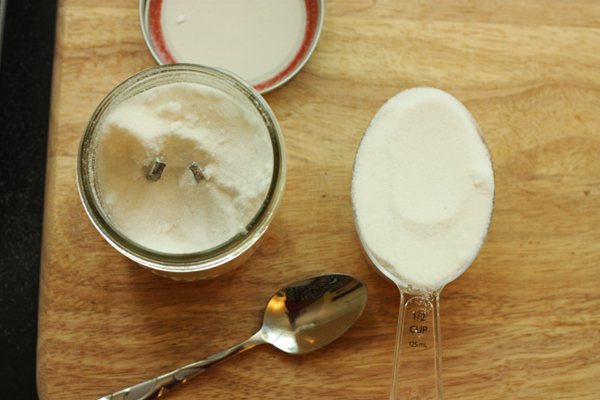
But it turns out that vanilla beans offer a lot of bang for the bucks you spend on them. Even after the beans have been scraped of the tiny black flecks that you might recognize from vanilla bean ice cream, the pods themselves retain immense flavor potential. You can even make your own vanilla extract (a project for another day), but an easy thing to do with an empty pod is to make a batch of your own vanilla sugar. Just plunge the pods into a mason jar full of sugar and let it sit for a few weeks and voila! Vanilla sugar!
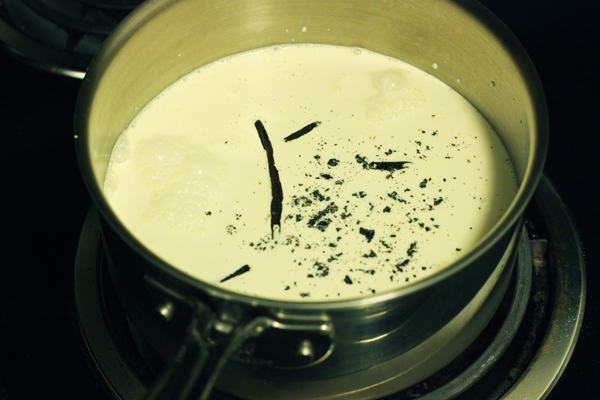
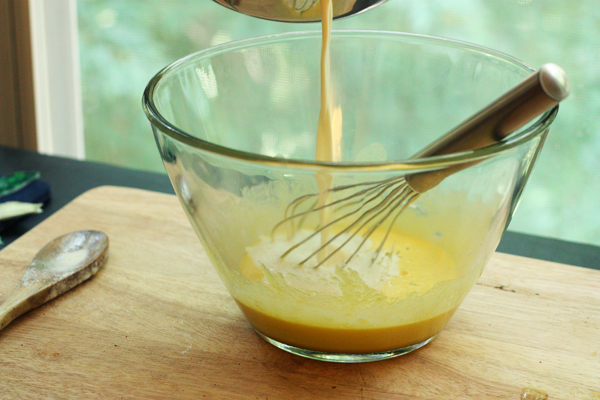
Despite it’s fancy presentation, crème brûlée is actually pretty easy to make. The scrapings of a fresh vanilla bean (maybe vanilla extract is closer to the top of the list than I thought) are combined with cream and heated gently, and some eggs and vanilla sugar are whipped together while it cools. The two mixtures are then combined and poured into your ramekins.
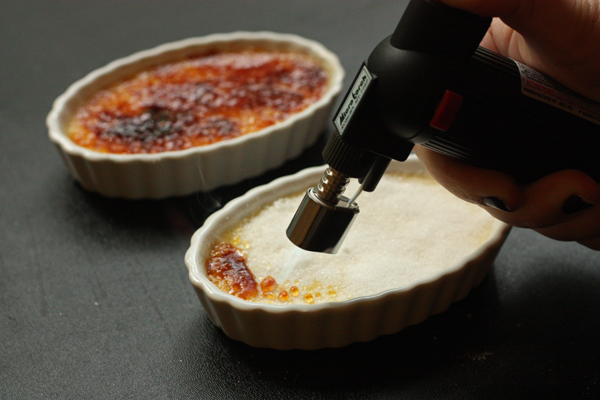
After baking and chilling, the little desserts are ready for the fun part: the fire!
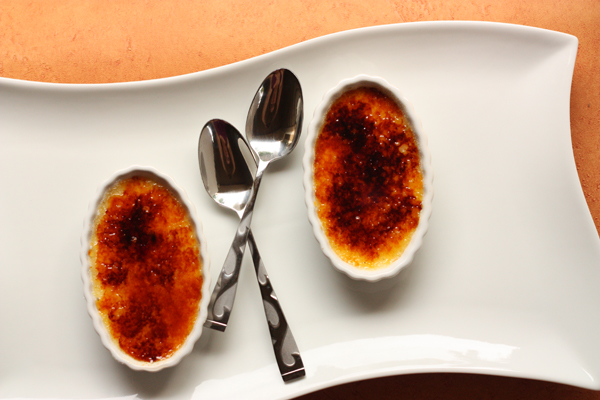
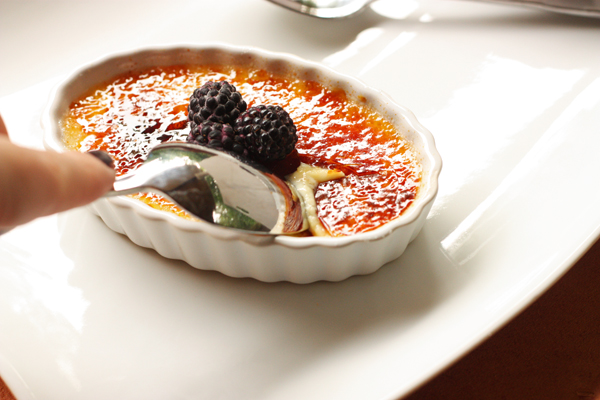
Oh, I guess that’s just one of the fun parts. The really best most awesome part is, of course, cracking a freshly-torched layer of sugar and scooping it up with a nice spoonful of the creamy business underneath. Holy crazy delicious.
Crème Brûlée
Adapted, barely, from Alton Brown
Makes 12, 3-4 oz. serving
2 pints heavy cream
1 vanilla bean, split and scraped
1/2 c vanilla sugar, plus additional for caramelizing
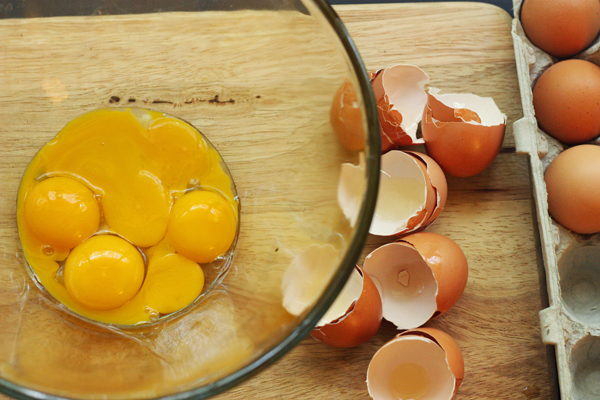
6 large egg yolks
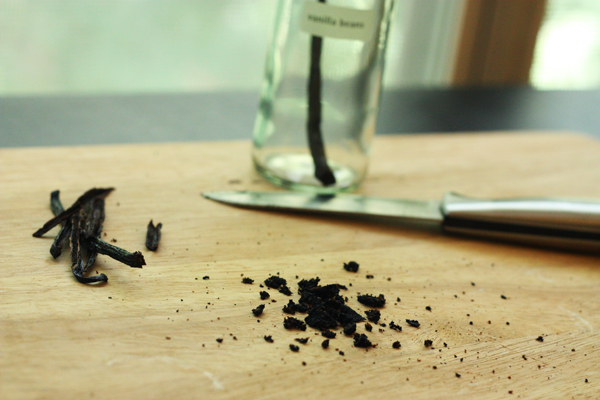
Preheat oven to 325 °F. Carefully slice the vanilla bean down the center and scrape out the bean with the tip of a knife. Pour cream, vanilla bean, and vanilla bean scrapings into a medium pot over medium-high heat and bring to a boil. Remove from heat and cover, allowing the pot to sit for 15 minutes. Remove vanilla bean pod, rinse, and allow to dry to be used for something else.
While the warm cream is sitting covered, add egg yolks & 1/2 c vanilla sugar to a medium bowl. Whisk vigorously until mixture is well-blended and begins to lighten in color. Add the cream a little at a time, stirring constantly.
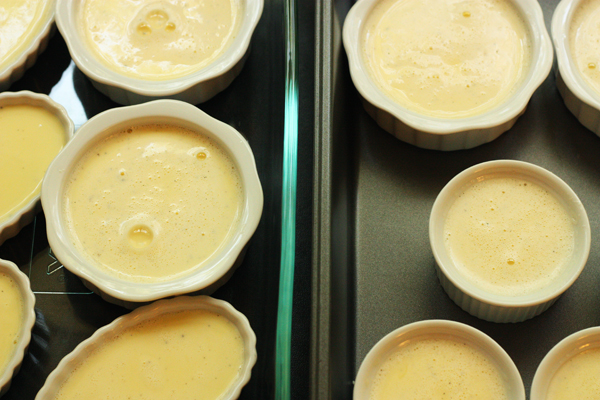
Place ramekins into two cake pans (you may only need one if using fewer, larger ramekins). Ladle liquid cream mixture into ramekins, filling each ramekin pretty close to the top. The custard will not be expanding, so there is no need to leave fill space.
Carefully pour hot water into the cake pans around the ramekins, filling the pan until the water comes halfway up the sides of the ramekins. Place the pans in the oven and bake for 40-45 minutes or until the custard is set but still trembling in the center of each ramekin. Remove the ramekins from the pans and refrigerate for at least 2 hours. You can keep the crème brûlée in the fridge for up to three days.
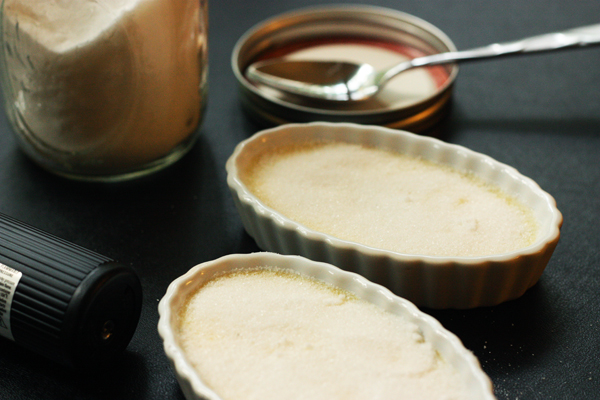
About 30 minutes prior to serving, remove the number of ramekins you need and let them sit on the counter to come toward room temperature. Sprinkle enough vanilla sugar over the custard to cover the surface with a thin layer. Using a small kitchen torch, heat the sugar until it liquifies to a golden brown. Once all sugar is caramelized, allow to rest for 2-3 minutes before serving.
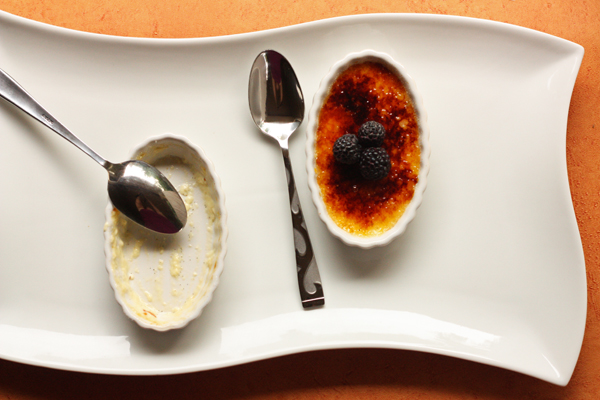
Garnish with a few fresh berries if desired. Try not to eat several ramekins in one sitting…



Sierra
June 22, 2012 @ 7:46 pm
I need this in my life today.
Jo@foodepix.com
June 23, 2012 @ 10:10 pm
This looks delicious and your pictures are amazing. Would love for you to share your photos with us at foodepix.com.
Simply Tia
June 24, 2012 @ 5:45 am
Crème Brûlée is my favorite dessert ever. I’m pretty obsessed with the stuff. I think you did a beyond fabulous job! Your brûlée looks utterly sinful and delicious!!!!
Gorgeous photos!
Jessica
June 24, 2012 @ 1:18 pm
I’ve never had this dessert, and until I saw your post, I didn’t WANT to try it. Yours just looks so good.
Naturally Gluten Free Roundup #6 – June
June 29, 2012 @ 3:47 am
[…] Kristi from 30 Pounds of Apples made crème brûlée […]
Anshu
July 5, 2012 @ 12:35 am
your step by step recipe is so wonderful, i love your food photograhy.
Have a visit at my site – http://ijuhi.wordpress.com/
Deb
December 29, 2012 @ 11:44 pm
Can you torch the Brulee and then let it sit, counter or fridge for a few hours?
Kristi @ 30 Pounds of Apples
December 30, 2012 @ 6:12 pm
To be honest, I haven’t tried, but I have heard that the crust begins to get soggy. I am such a big fan of the “crack!” of breaking the crust, so I wouldn’t want to risk it.
Easy Dinner Recipe: Crepes – Huffington Post | Breakfast
February 12, 2013 @ 4:53 pm
[…] Obtain the Creme Brulee formula through Thirty Lbs of Pears […]
10 Easy French Recipes to Try at Home | Talk in French
October 18, 2015 @ 5:36 am
[…] You may check out the rest of the recipe here. […]
The January/February Issue is Now Available
November 29, 2015 @ 10:43 pm
[…] Crème Brûlée […]