Fresh Mozzarella Cheese
I made some.
This cheese, to be specific.
It’s not like this is one of the most magical things I’ve ever done.
(It is. It is one of the most magical things I’ve ever done.)
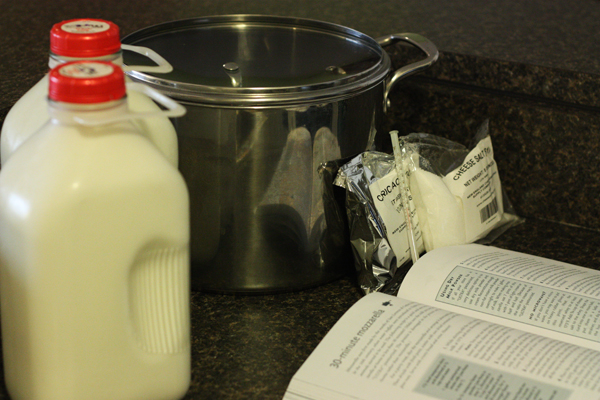
A couple years ago, after reading — and being thoroughly inspired by — this book, I really wanted to to try my hand at making cheese. An ancient art, cheese making has sustained and entertained people across the globe for thousands of years. I wanted in. So my parents bought me this basic cheese making kit, which contains all the special ingredients and equipment needed to make both mozzarella and ricotta cheeses. Other than a really big pot, some spoons and bowls, and of course, milk.
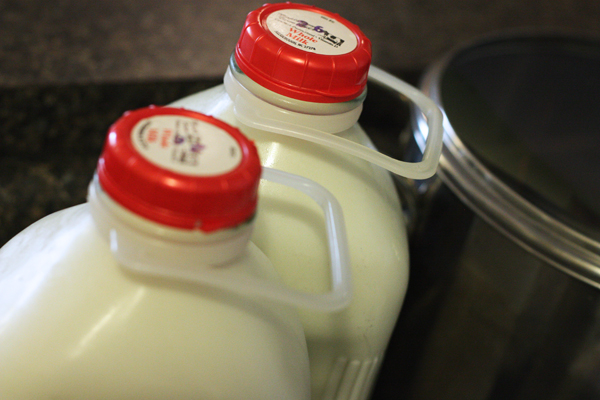
Let’s talk about milk. I don’t think I’ve ever bought whole milk before, except with the intention of making cheese. Because cheese is made up of the proteins and fats in milk, using a milk with higher fat content produces more cheese. Also, you can’t use “ultra-pasteurized” milk to make cheese (at least not this one). Why? The super-high temperatures of ultra-pasteurization denature the proteins in the milk, which means it won’t curdle. Regular old pasteurization is fine, but make sure your milk doesn’t say “ultra”.
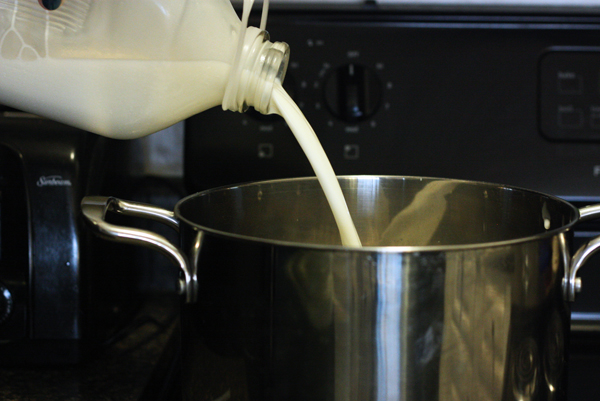
I also needed a really big pot, and a stainless steel one at that. When I first ventured into this project, I didn’t have a pot large enough to even hold a gallon of milk. It doesn’t have to be fancy. I think I got the cheapest one they had at Bed Bath & Beyond. And you know what? It’s become invaluable to me. I use it to make big batches of soup, to brine turkey, to make apple sauce, all kinds of things. Get one. It’s worth it.
Everything else came in the kit! Mozzarella, as it turns out, is really rather simple: milk, citric acid, rennet, and salt. That and a stove. And a lot of stirring.
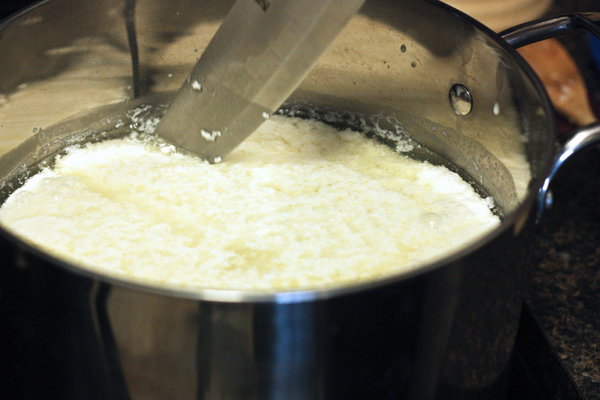
And then look! The magic!
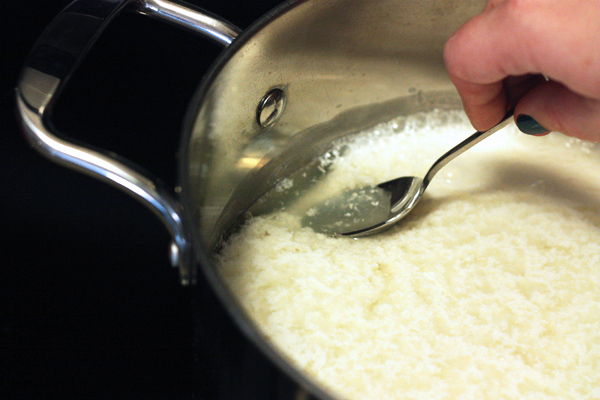
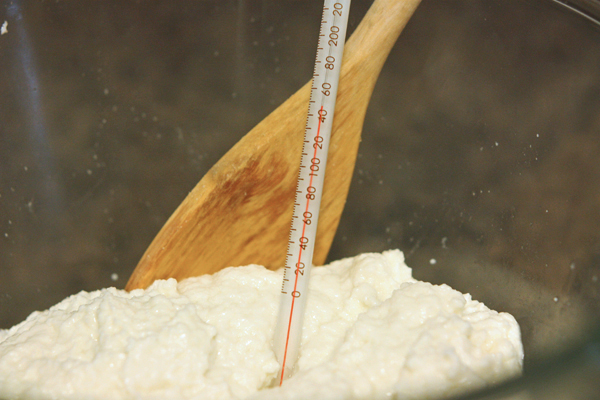
See how you can press the curds down separately from the clear whey? Cheese magic!
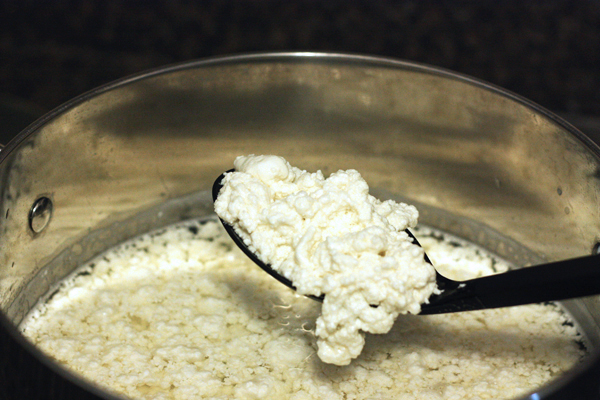
Believe it or not, this is only about 20 minutes into the whole process. All that’s left is to take these cottage-cheese-like curds and turn them into a smooth, glossy block of fresh mozzarella.
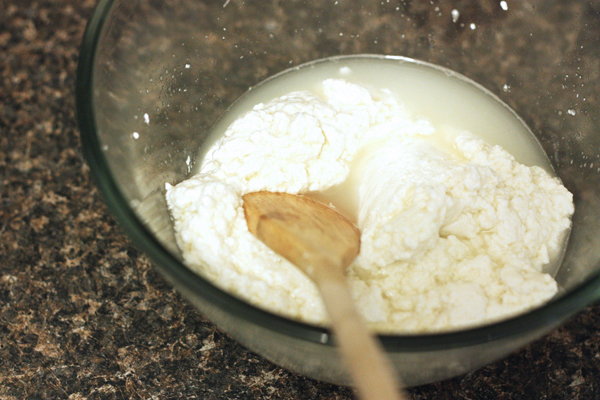
Using a slotted spoon, the curd is scooped out of the pot and into a microwaveable bowl. The goal is to get as much whey out as possible, leaving only the curd behind.
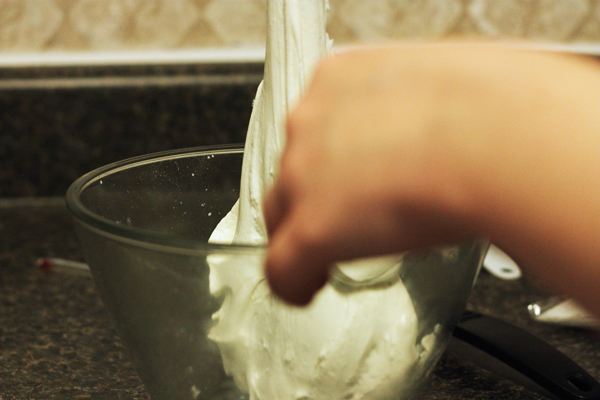
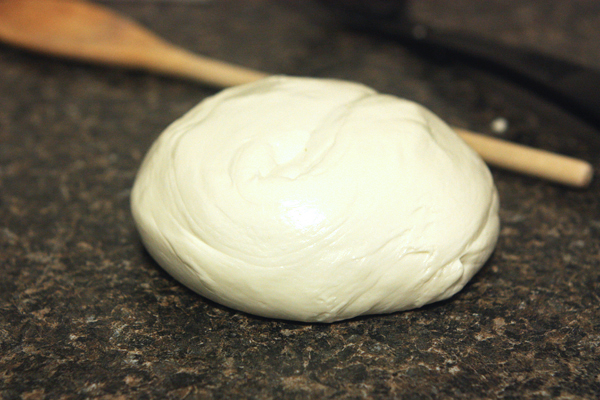
In the final steps, the cheese is heated and stretched. Mozzarella is famous for it’s extreme elasticity, and it’s a relatively easy feat to achieve. Your lumpy blob of cheese, when kneaded and stretched, will suddenly come together and stretch like taffy and it comes to a glossy finish. Unfortunately, I didn’t have much luck photographing this step. Here’s an excellent shot of stretching cheese that is blocked perfectly by my hand…
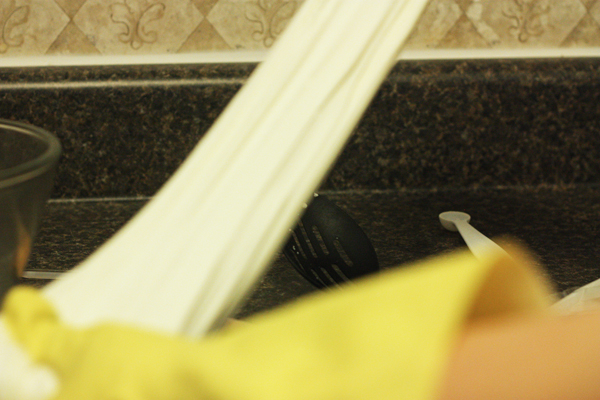
And another perfect shot. Shame that the cheese is wildly out of focus (though the spoon finally has a moment to shine, I suppose).
So it goes. I never professed to be a master photographer.
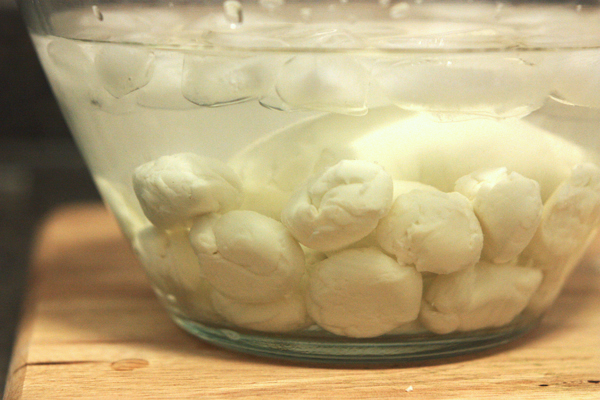
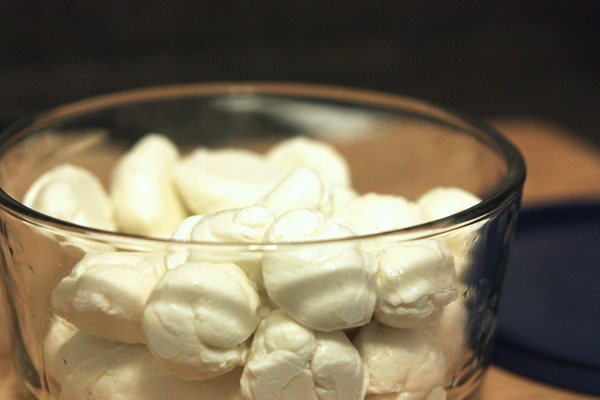
Once the cheese is stretched, you can shape it however you want. I opted this time for a block of cheese and several little blocks. Whatever you choose, choose wisely, because the ice bath doesn’t allow for a change of heart.
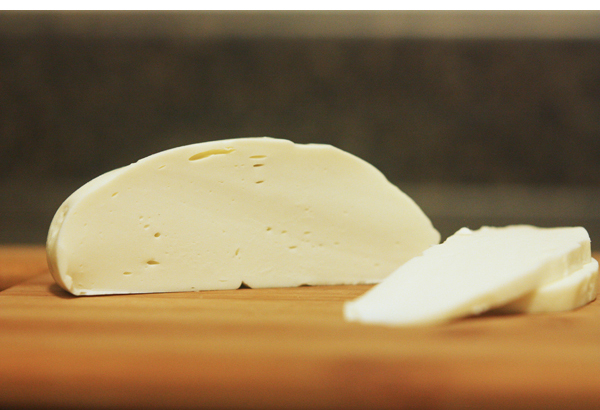
And it’s cheese! Just like that.
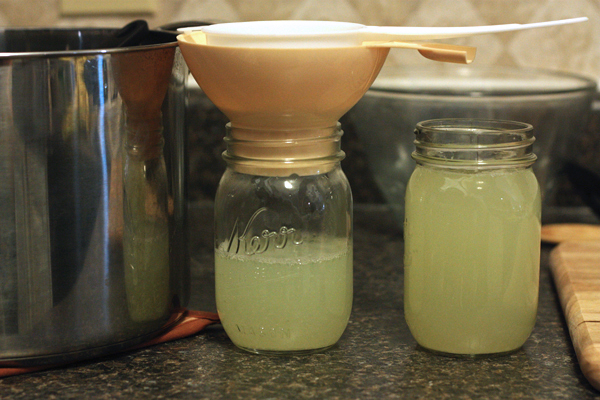
So what about the whey? You can get rid of it, of course, but I saved mine. Why?
It’s a surprise. I promise I’ll tell you soon. In the meantime, check out the kit! It has enough ingredients to make POUNDS of this stuff. Totally worth it.
Fresh Mozzarella Cheese
Adapted, barely, from Home Cheese Making
Ingredients
1 1/2 tsp citric acid dissolved in 1/2 c cool water
1 gallon whole milk (not ultra-pasteurized)
1/4 tablet rennet (or 3/4 tsp if using liquid rennet), dissolved in 1/4 c cool water
2 tsp cheese salt
Equipment
large stainless steel pot (at least 6 quarts)
cheese thermometer
two long-handled spoons
slotted spoon
long knife
microwavable bowl (at least 2 quarts)
rubber gloves
large bowl of ice water, set aside
Dissolve citric acid and rennet into correct amounts of cool water (given above) and set both solutions aside. Pour milk into stainless steel pot over medium to high heat. Heat milk to 55°F, then add citric acid solution. Continue heating milk to 90 °F while stirring constantly.
Once milk has reached 90 °F, remove pot from heat. Slowly add rennet solution while “rowing” back and forth for about 30 seconds. Cover the pot and let rest, undisturbed for 5 minutes.
Using a spoon along the edge of the pot, carefully check to see if the curd and whey have separated. When pressing slightly against the curd, the whey should be separate. If the whey is too milky, let pot sit for a couple more minutes. Cut gently through the curd with a knife that goes all the way to the bottom of the pot.
Return pot to the heat. Heat to 105 °F, gently stirring so that the curds move slowly through the pot. Once curds have reached 105 °F, remove pot from heat and continue stirring gently for 2-5 minutes (5 minutes will result in a firmer cheese, 2 minutes a softer cheese – I stir mine for almost 5).
Using your slotted spoon, scoop the curds out of the pot and into the microwaveable bowl, allowing as much whey to drain out of the spoon as possible with each scoop. Once all curds are in the bowl, press gently to release more whey and pour off into the pot.
Microwave the curds for 1 minute. Fold the cheese over and over itself, draining off any whey that results, so that the heat distributes evenly through the cheese. Microwave two more times for 35 seconds each, folding cheese and draining whey between each time. Add the cheese salt and fold the cheese again. Using the cheese thermometer, check the temperature of the cheese. Once it has reached 145 °F throughout, quickly put on the rubber gloves and knead the cheese quickly, stretching the cheese while kneading. Once cheese is smooth and glossy and stretches like taffy, it is ready for shaping. If the cheese breaks instead of stretching, reheat for a few more seconds. Also: the more you stretch/knead the cheese, the firmer it will become, so don’t stretch too far beyond the smooth & glossy stage.
Before the cheese cools, form into a large ball, small bite-size pieces, a cheese braid, or any shape you like. Then, submerge the cheese into the bowl of ice water for 30-40 minutes.
Eat fresh or store in the refrigerator for up to two weeks.

Ben
February 16, 2012 @ 11:38 am
Those totally should have been Ball jars… Just saying… Not biased or anything though ;)
Ben
February 16, 2012 @ 11:39 am
As an after thought to the first post… Any chance there’s a way to make gluten free cheese sticks with this?!
Kristi @ 30 Pounds of Apples
February 16, 2012 @ 11:44 am
By cheese sticks do you mean cheesebread? Or do you mean string cheese?
Ben
February 17, 2012 @ 6:35 pm
I’m talking about “fried mozzarella”!
cathy b
February 16, 2012 @ 1:33 pm
cute writeup and yummy looking cheese. I have the same kit and tried it twice, am sure I used the rit milk but it never curdled the way it was supposed to :(. Guess I will retry one more time. I didnt really even get ricotta out of it. yours looks awesome!
Kristi @ 30 Pounds of Apples
February 16, 2012 @ 2:39 pm
How odd! I wonder what happened. Perhaps something is wrong with the rennet? But that wouldn’t explain the ricotta, as it only takes the citric acid. I hope you have success if you give it another try!
Franko
February 20, 2012 @ 6:38 pm
in my experience, if the milk was over-pasteurized, you’ll NEVER get curds out of it. try to buy local pasteurized milk, instead of some national brand, because they tend to not be so over-zealous in the pasteurizing process when they don’t have to ship it as far. good luck!
CheezyK
February 16, 2012 @ 6:59 pm
Oh my goodness, this looks fantastic! Cheese making is one of the many things on my ‘to do’ list for when I (eventually) stop working full time.
Kristi @ 30 Pounds of Apples
February 18, 2012 @ 7:35 pm
Do it! This is definitely one of those artisan food projects that is still very possible for a full time worker. I’m one of ’em!
The Weekly Dish 02/19/2012 | Pippi's in the Kitchen Again
February 21, 2012 @ 12:20 am
[…] Fresh Mozzarella Cheese from 30 Pounds of Apples […]
Michelle
February 23, 2012 @ 1:16 pm
Just getting started and made the mozzarella…loved it!! Can’t wait to start the hard cheese process! Keep these post coming because I learn so much and it helps to stay motivated!
Kristi @ 30 Pounds of Apples
February 23, 2012 @ 2:54 pm
I am eager to try some of the hard cheeses as well!
shannon olson
February 23, 2012 @ 1:49 pm
very nice post!! you did a wonderful job, New England Cheesemaking is a great source!!
Kristi @ 30 Pounds of Apples
February 23, 2012 @ 2:53 pm
Thank you!
Eva Hollmann
February 23, 2012 @ 3:41 pm
so at which point did you add the salt? I just made my very first mozzarella and it came out nice, as far as the consistency, but decidedly “blah”
Kristi @ 30 Pounds of Apples
February 23, 2012 @ 4:21 pm
Sorry about that, it looks like I forgot to mention that step! I have now added it into the instructions, but I added my salt after the two 35-second bursts in the microwave. The original recipe called for 1 tsp of cheese salt, but I use two because I too felt it was a bit “blah”. Hope this helps!