Strawberry Jam, Part II: Preserving
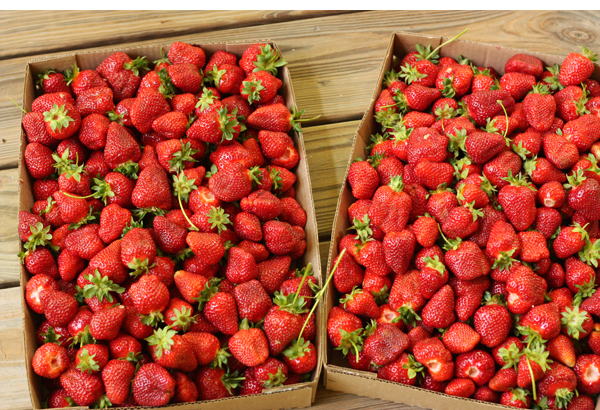
Soooooo, twenty-0ne pounds of strawberries. Now what?
I wish you could have seen the faces of other customers entering the strawberry field as I was attempting to tote these boxes out. Most of them looked at me with a bizarre look of pity. Like I’d gone off the deep end. And/or had a serious strawberry addiction.
In case you’re just now tuning in, I spent the early hours of sunshine last Saturday picking strawberries to transform into jam, and after arriving home with my loot, it was time to start preserving.
Freezing Fresh Berries
While most would agree that berries are best when eaten fresh & ripe, they also freeze really well. In my stubborn attempt to avoid purchasing produce when it is incredibly out of season, freezing berries opens up many possibilities to enjoy fruit when it’s snowy (or, in my current location, semi-cold and gray). Berries can be frozen in a syrup or juice, but I prefer to freeze them whole.
What You Need
cookie sheets (make sure they fit in your freezer… trust me on this one and test the space with an empty sheet before you start)
parchment paper
freezer
berries (if you don’t have those, you’re doing the wrooooong project)
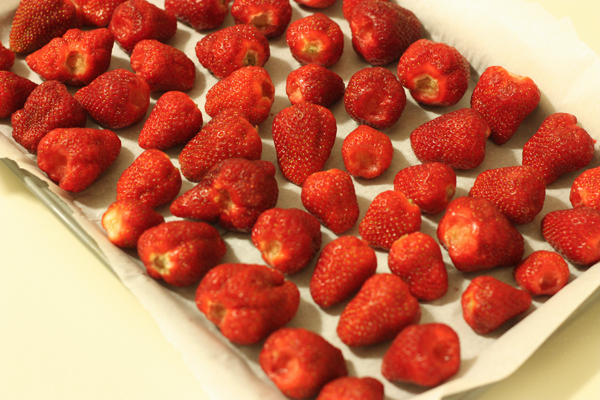
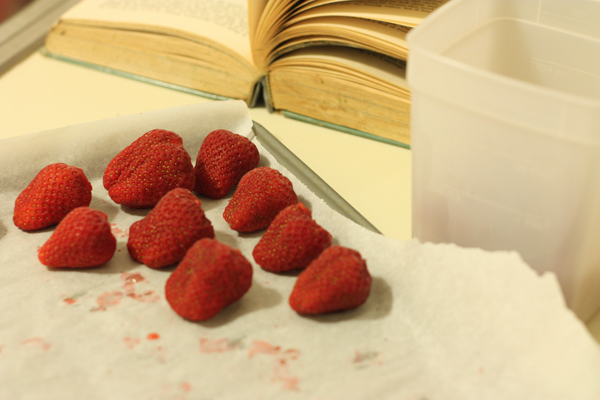
It’s pretty straight forward. Sort through your berries and find the beauty queens. Freezing berries with soft spots isn’t the best idea, so find the nicest, firmest, most beautiful berries in the bunch. Wash them, pop off their tops and if you can, pop out the hull (the white firm spot right beneath the green leaves). Arrange them on a cookie sheet covered with parchment paper so that they aren’t touching. Then freeze ’em!
I froze one sheet for about three hours and another tray for twenty-four, so I’ll keep you posted about any difference between them when I actually use them on some dreary winter day in the future. Why did I not just freeze them in their container and skip the teetering tray of berries step? This way, I will be able to pull out exactly the number of berries I want rather than one giant clump of them fused together. Just planning ahead. For smoothies. Who needs ice when you have frozen strawberries?
Anyway. Moving on.
Canning Jam
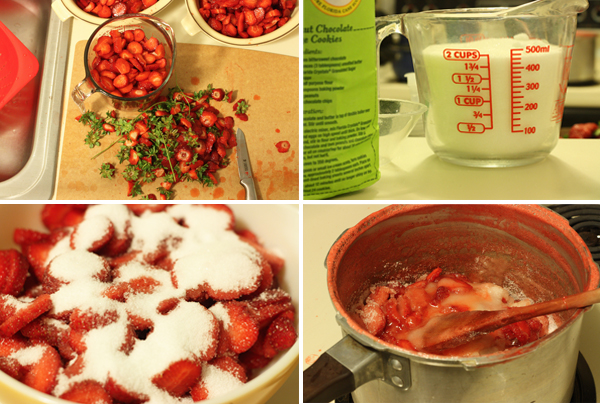
Maybe it was just me and my very amateur experience in canning, but the longest part of this process was the preparation. Before any boiling jam could be bottled, there were berries to wash and slice, batches of preserves to sugar overnight, jars to purchase and sanitize, surfaces to cover. It’s a big project.
Once I had everything prepared, though, the batches actually moved rather quickly. It’s really just the same process over and over again until you run out of berries. Or sugar. Or jars. Or stamina. Whichever comes first.
Take a break halfway through and eat something salty for lunch. Your house will smell like it’s filled with strawberries. It is.
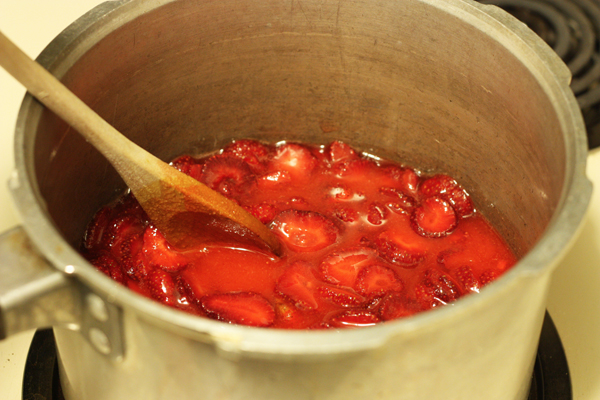
The biggest temptation to resist was to try and double the batches. See how innocent and small this batch looks in the pan when it first goes on the stove?
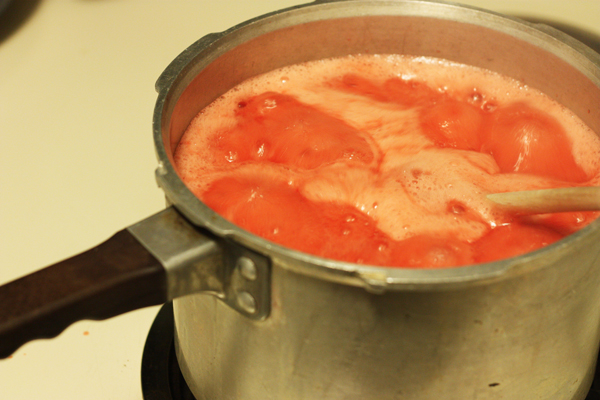
And then how HUGE it get once it begins to boil? I’m thankful every minute I trusted my grandma’s recipe and left the proportions as they were. Unless you have a much larger pot than this (I think mine is four quarts), I suggest starting small to see how much it increases in size.
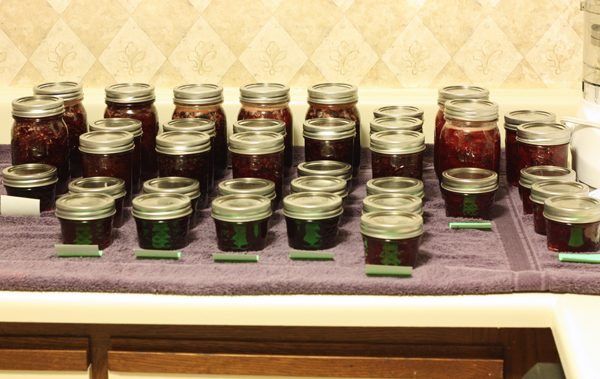
And so, after preparing and cooking as many berries I could stand, I stepped back to admire the results.
Ta da!
…Ta da?
Oh man…
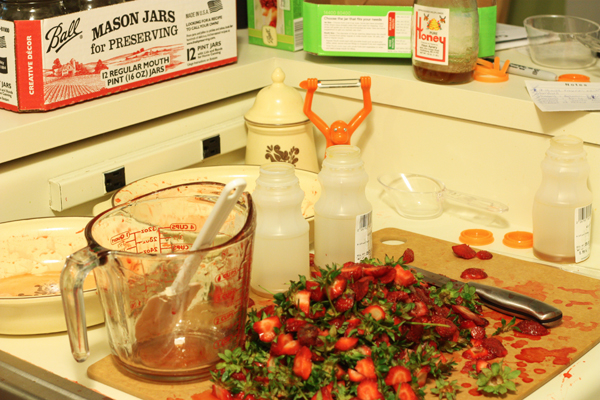
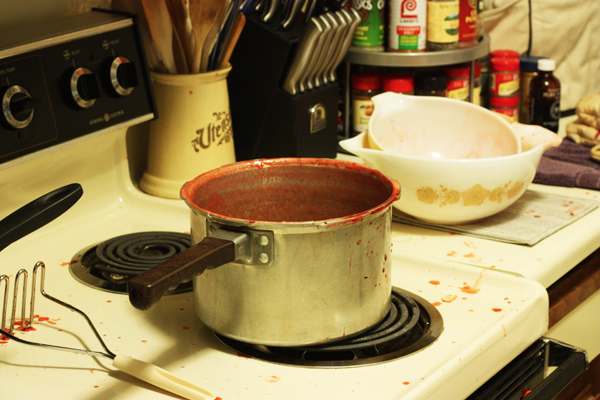
My kitchen was pink. My shoes made that “fffwich!” noise on the floor as they became progressively more sticky. There was jam in my hair. Strawberry tops everywhere. The stove needs cleaned. The floor needs mopped. I need another shelf in my pantry.
But I have jam. Eight different varieties in thirty-seven jars. So stay tuned for the epic conclusion, Strawberry Jam Part III: Recipes + Results, to discover how they turned out. And maybe you can taste some for yourself. :)
Also:
I’m sooo not an expert on canning, and though I started this post with the intention of outlining every step, I honestly feel a bit uncomfortable going into immense detail about the rights and wrongs of home food preservation. Why? I’ve only been canning jam for a couple of summers, and I haven’t yet ventured into any pickles, salsas, or other preserves. So until I get some more experience under my belt, I’m gonna leave it to the experts. These are some of the best resources out there for learning to can. I also learned much of my technique from my grandma, but she’s not linkable. Silly.

Suzy
May 14, 2011 @ 5:47 pm
Love the jars all in a row! Also love the carnage photos cuz that’s what my kitchen looks like when I make toast!
Brad
May 15, 2011 @ 1:16 pm
Seriously? NO pictures of pouring!?
Suzy
May 16, 2011 @ 1:47 pm
Yes, it should be easy to pour hot jam with one hand and snap pictures with the other!