To Bake a Wedding Cake, Part VI: The Big Reveal
Previously:
Part I: A Prologue
Part II: Um, So, What Are We Doing?
Part III: To Do
Part IV: Testing 1, 2, 3
Part V: The Home Stretch
Welcome to the last of my six-part series about the trials, tribulations, and triumphs of baking a wedding cake. Last Tuesday, I flew to Colorado to attend a hen party, participate in the rehearsal and rehearsal dinner, stand up as a bridesmaid, and last but not least, to bake a groom’s cake and a wedding cake for Sierra, my best friend of 15 years, and her fiancé husband, Sean.
It was quite a whirlwind trip.
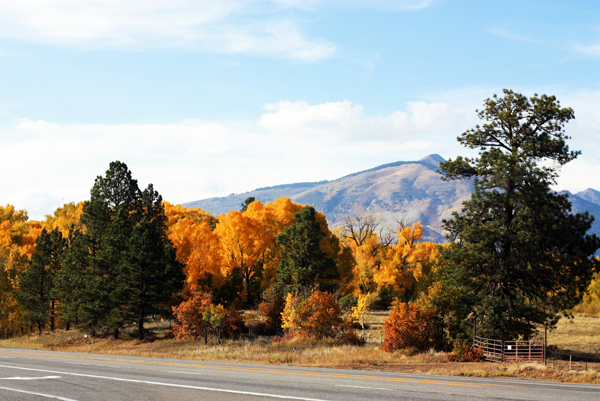
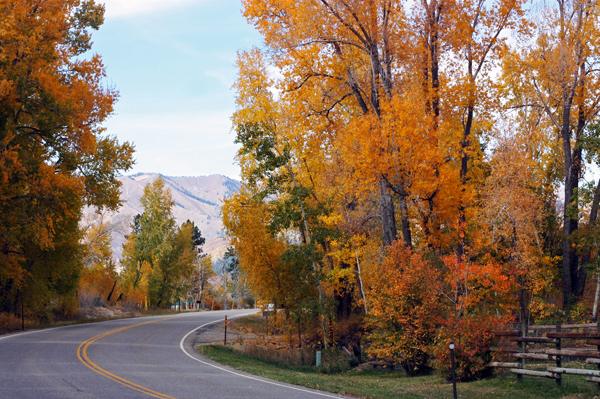
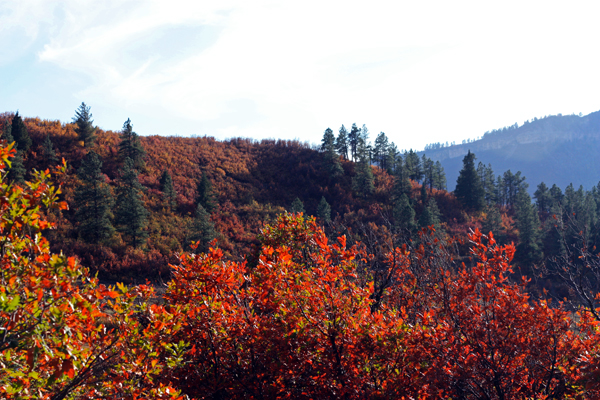
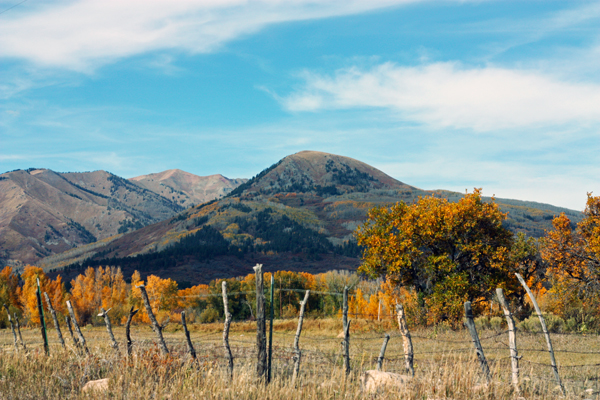
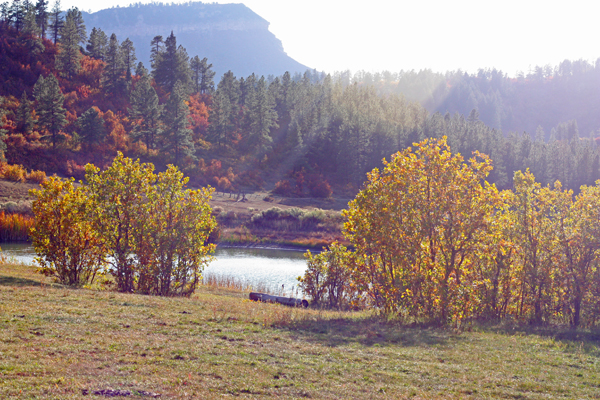
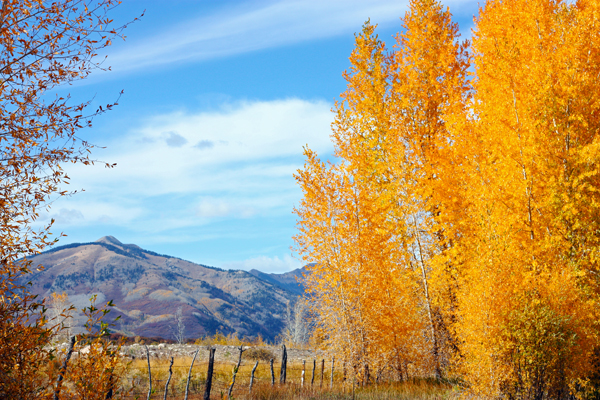
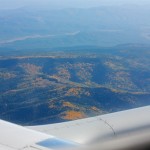
This was also the first time I’ve made a trip to Colorado since leaving for college eight years ago that coincided with luscious autumn colors glazing the mountains and meadows of home. The scene was nothing short of breathtaking.
But you’re probably not here for my photos of leaf-peeping and coasting down Hesperus Hill. I’ll wager you wanna see some dang cake!
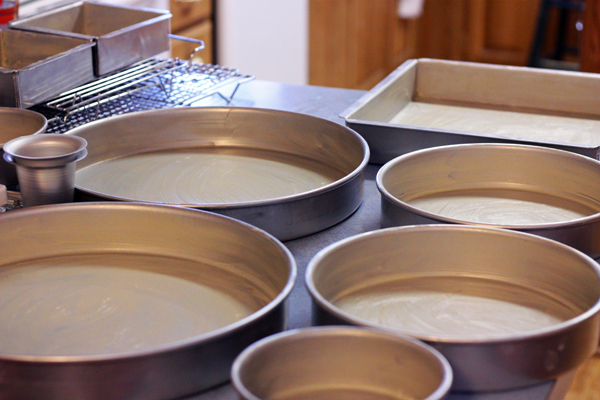
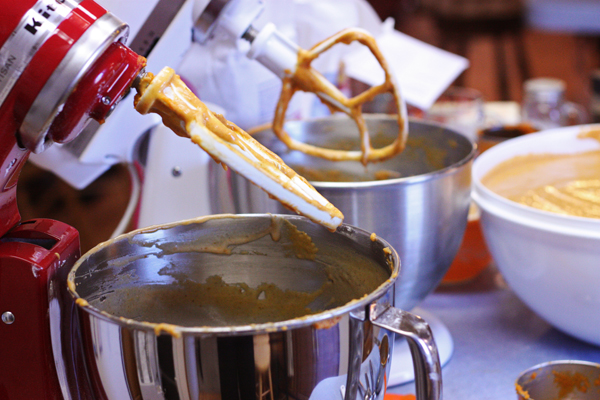
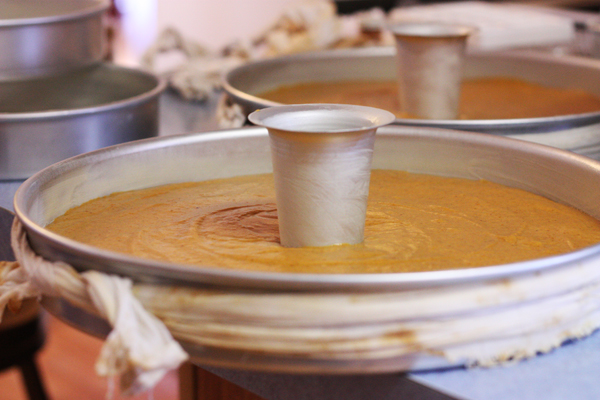
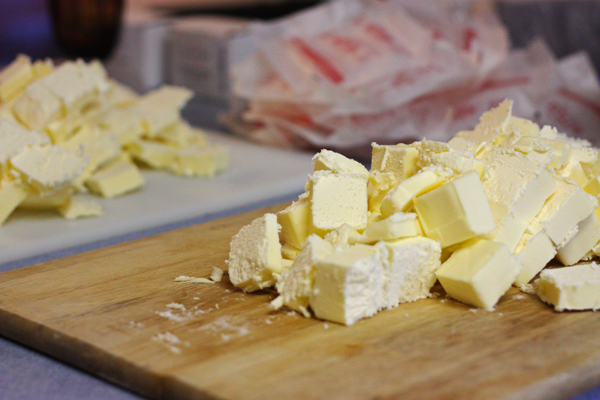
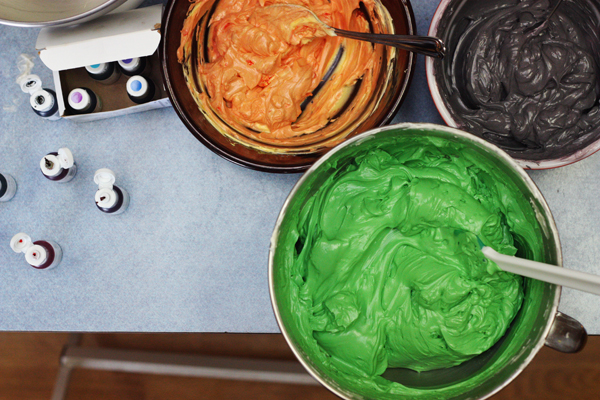
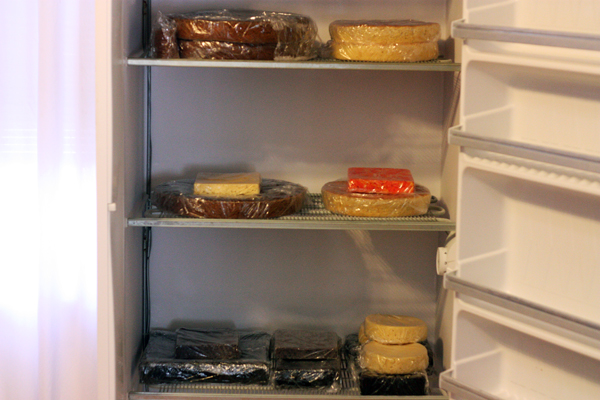
Let me be clear: it is no small thing to bake not only one but two major cakes for an occasion such as this. My alarm clock jangled menacingly each morning before 8am, and I didn’t hit the pillow before midnight a single night that I was home. Two KitchenAids hummed merrily along for batch after batch of cake batter and Swiss meringue buttercream icing, and it’s possible that the oven was on for nine hours straight on Wednesday. There was so much cake that my dad conveniently installed an extra freezer in the family room for the week to chill them.
That, my friends, is what 18 layers scratch-made cake looks like.
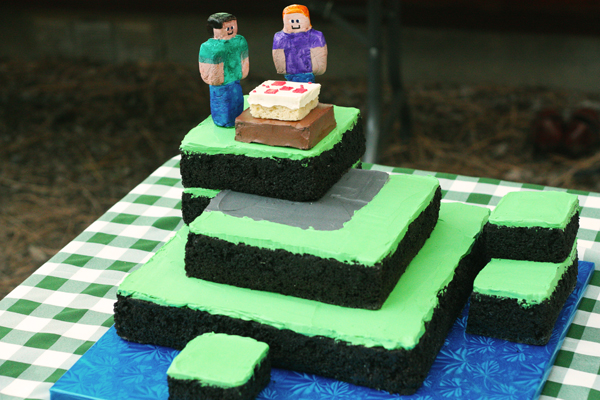
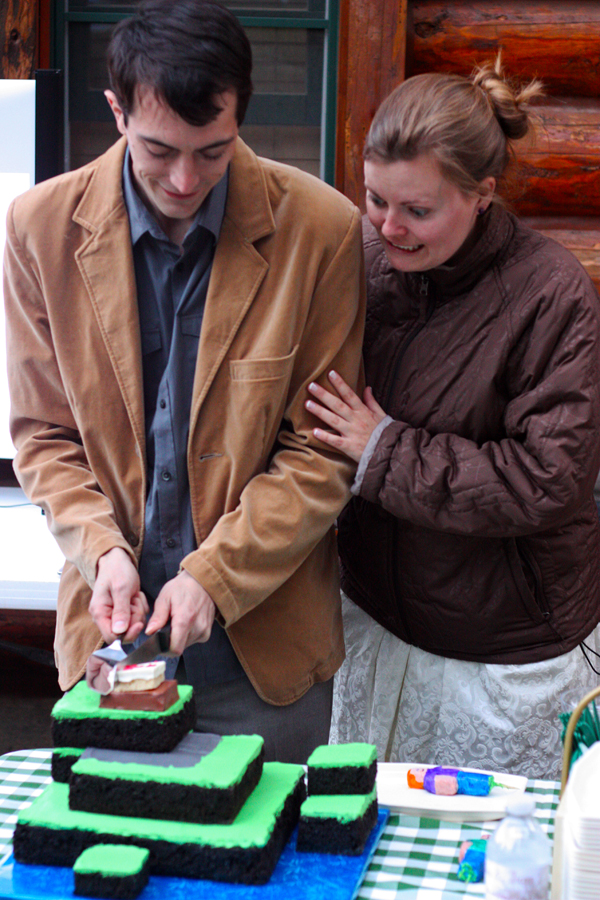
Once those suckers were baked and frozen, it was time to build the groom’s cake! Sierra & Sean requested that the groom’s cake appear at the rehearsal dinner the night before the wedding, so I hacked and chopped and iced and stacked together several layers of cake to build them a towering confection based on Minecraft, one of their favorite video games to play together. Complete with “lava” buried deep within and a Minecrafted “cake” on top (meta, I know), it came off without a hitch! I did dye half of the guests mouths black with the “cobblestone” sections, but what can you do?
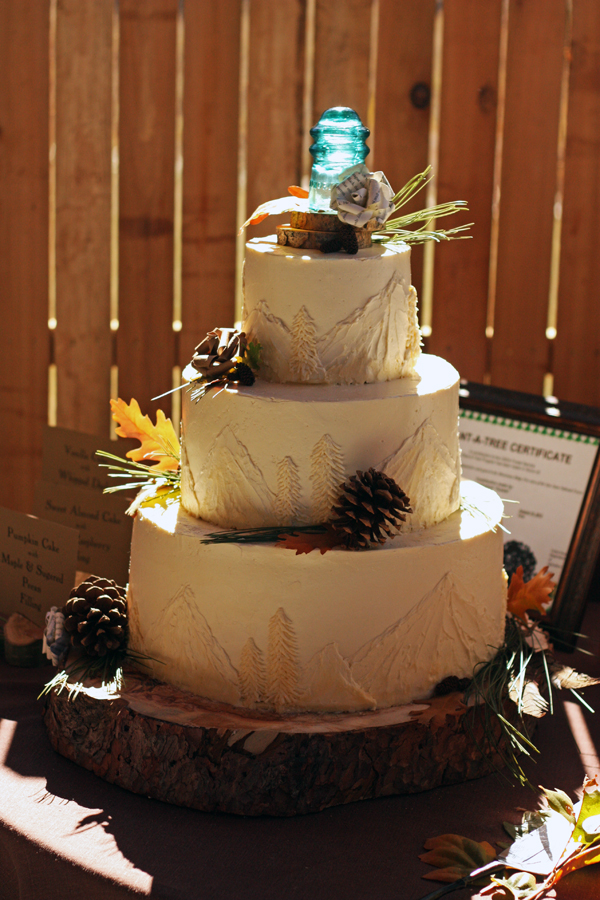
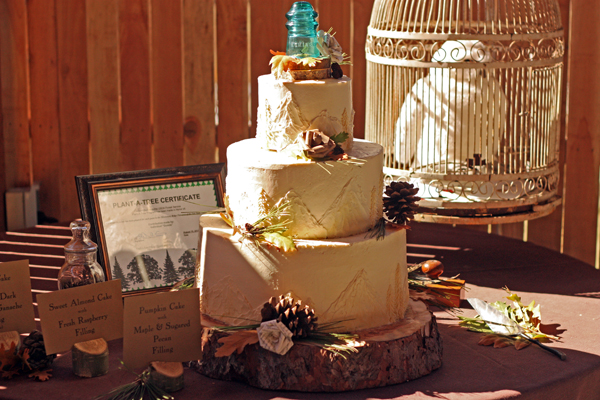
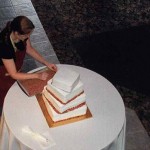
Once the groom’s cake was complete, it was on to the final act. The big kahuna. A cake that, when all what said and done, probably weighed at least sixty pounds. Each tier boasted three layers of cake separated by two layers of scrumptious filling and was enrobed in a thick layer of Swiss meringue buttercream. After a bumpy ride up to the ranch (try driving on gravel mountain roads with three cakes in the back of your car), a bit of maintenance, and some floral flourishes to match the centerpieces, the cake was ready!
Ta da!
From there, I abandoned my camera. I wish I had a shot of Sierra & Sean cutting the cake, or the caterers man-handling this thing into pieces, or the guests enjoying bites of pumpkin cake. But I don’t. I spent the evening enjoying the wedding, the company of dear friends, and the cool night air of the Colorado mountains in October.
And as for the recipes? Well there’s no way I’m gonna leave you empty-handed there. Rather than retype PAGES of recipes, I’ve included below the mega-document I used throughout the week, complete with high altitude alterations due to the fact that I was baking these cakes at 7300 feet above sea level.
It’s been quite an adventure! Beginning last fall with conversations about concepts, moving through the spring and summer full of recipe testing and design, and finally concluding with a 5-day baking extravaganza in Colorado, I’m thrilled that I was able to give such a gift to such wonderful friends. To the newlyweds, Sierra & Sean, I wish you all of the best! And we’re totally not baking anything next time I visit.


Natasha
October 9, 2012 @ 12:24 pm
Absolutely beautiful!! Sounds super delicious!
Kate.
October 9, 2012 @ 12:42 pm
Kristi – hate to say it but your Colorado pictures stole the cake’s thunder on this one! SO PRETTY!
Kristi @ 30 Pounds of Apples
October 9, 2012 @ 2:59 pm
It was outrageously gorgeous up there.
Mona
October 9, 2012 @ 1:04 pm
And it tasted as good as it looked! Amazing accomplishment, KJ!
Kristi @ 30 Pounds of Apples
October 9, 2012 @ 2:59 pm
Thank you! It was soooo great to see you!
Crystal
October 9, 2012 @ 2:44 pm
That icing design looks fan-FREAKING-tastic! Now take a well-deserved rest and clear your mind. We have dibs on the next one. :P
Kristi @ 30 Pounds of Apples
October 9, 2012 @ 2:59 pm
That you do, my friend!
Shannon
October 10, 2012 @ 1:29 pm
The cake is absolutely gorgeous! I am not exaggerating when I say it looks like perfection. I have two questions about the top – what is the blue thing, and is that a flower made from newsprint? And, I had no idea the colors in Colorado were so beautiful in the fall. Maybe I will have to consider moving there :-)
Kristi @ 30 Pounds of Apples
October 10, 2012 @ 5:39 pm
The blue thing is a glass insulator. It was a common feature in the lighting and much of the decor, so we integrated it onto the cake. The roses are actually made from pages of a Harry Potter book that Sierra found at a thrift store! They were also scattered around amongst the centerpieces. And yes, it’s called “Colorful Colorado” for a reason!
Suzy Horvath
October 10, 2012 @ 10:59 pm
Absolute perfection! It was a lovely week and wedding!
Mixing it up « 1500sqft
October 12, 2012 @ 9:29 am
[…] thing to note is that this isn’t a powerful mixer. This isn’t going to knead bread or make a giant, enormous batch of frosting any time soon. It’s only a 150 watt unit (whereas the modern, basic Kitchen Aids are at […]
michelle
June 7, 2015 @ 10:51 pm
Hi!
Amazing cake! Not sure if you still check this, but wondering if you used the same buttercream for the mountain scene on the side of the cake? Soooo cool!!
Kristi @ 30 Pounds of Apples
June 8, 2015 @ 11:26 am
Hi Michelle, Thank you so much! I did use the very same buttercream for the mountains and trees on the side of the cake. SMBC is a great icing to work with for decorating in addition to base frosting!
michelle
June 19, 2015 @ 5:11 pm
Me again, just wondering how you got that smeary effect with the mountains? Did you use a special tool to get them looking so rustic? I wanted to try something similar for a cake for my mountain man dad for father’s day xx
Kristi @ 30 Pounds of Apples
June 22, 2015 @ 10:42 pm
I actually just used a small, offset spatula. I’d recommend refrigerating the cake once the base icing is on and then applying the mountains once the base is cold. I hope it works out for you!