Easter Eggs + Deviled Eggs
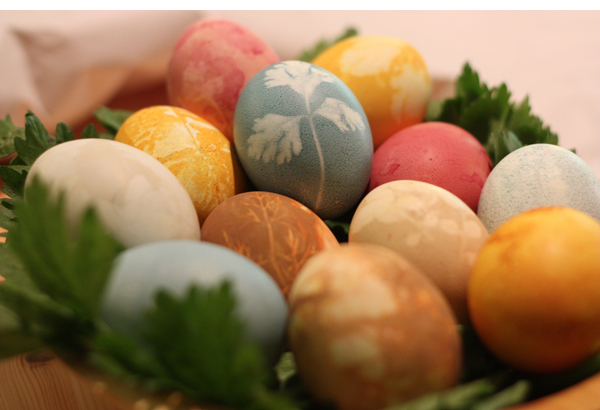
If Easter eggs are your thing, you have probably already dyed yours and let them spend their happy morning in a pile of scraggly plastic grass. So while this might not provide you with a must-try kitchen adventure for this weekend, I still want to tell you about the brief, but bizarre, life of my Easter eggs this year.
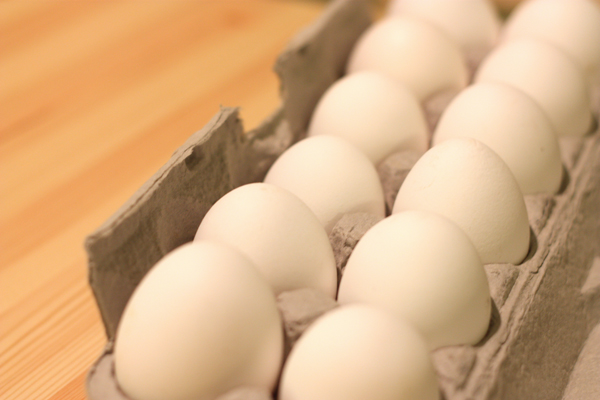
For as long as I can remember, I’ve used the standard effervescent tablets of color in mis-matched coffee mugs to dye eggs. This year I saw not one but three different suggestions for techniques to dye eggs with vegetable dyes. Perfect! A lifelong tradition that could be easily adjusted to accommodate my transition to local food. Easy right?
Mmmmm not as easy as I’d hoped.
Obtaining the dyes was not too difficult. I needed beets (readily available at the farmer’s market right now), red cabbage, and turmeric. Okay, so the turmeric is in no way, shape, or form local. But it seemed to be the most prevalent suggestion for creating a golden-hued egg, so I gave it a shot. Other than that, water, vinegar, and salt were easy to come by.
Next! I saw a technique to achieve beautiful eggs stenciled with leaves and flowers. A few minutes wandering around my apartment property provided a few stenciling options. A couple pairs of hose chopped into egg-friendly pouches later, some friends came over to partake in the vegetable dyeing experience.
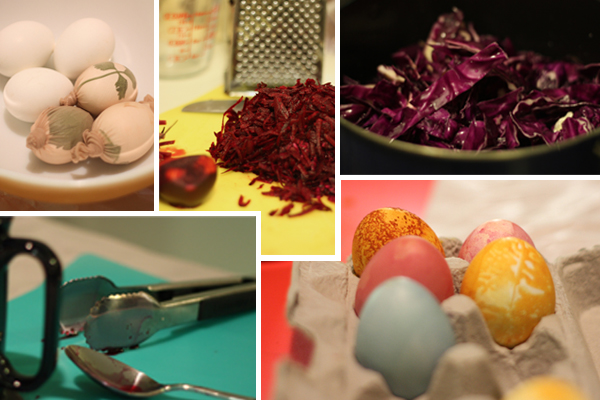
Then things got complicated. Should we boil the eggs and then dye them, or should we boil them in the dye? How long should we leave them in? How long are my hands going to be purple from grating beets? Why doesn’t my kitchen have better ventilation to accommodate three steaming pots of dye? Why are the eggs in the beet dye turning brown instead of red? Are they all going to look like subjects in an old west tourist photo?
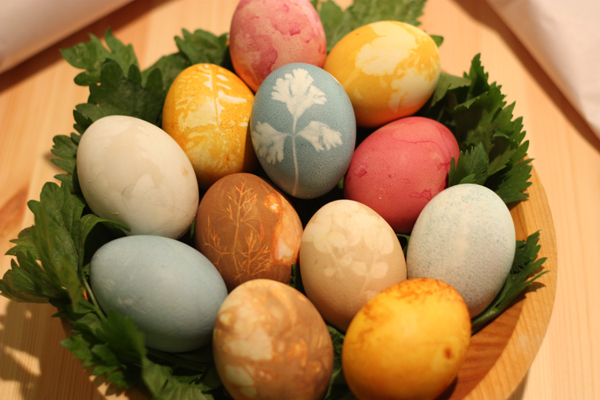
Despite some setbacks, the results were better than expected:

Well, not all the results. Here’s the old west cast.
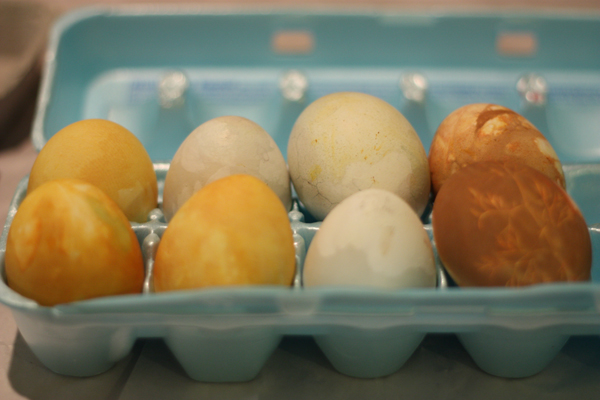
Charmed, I’m sure. I can almost see one of them sitting in a barrel holding a Victorian parasol.
In the end, we ended up with a basket of fairly respectable eggs. However, there were some definite downsides to this technique. My house smelling like cabbage for two days was one of them. My kitchen looked like a murder scene. And what do you do with overcooked beets and cabbage that have been pressed through strainers to collect their color? But if you and some friends are up for some entertainment, I encourage the challenge. (The “recipe”, if you will, for this technique is at the bottom of the post.)
So what do you do with a dozen hard-boiled eggs?
Devil them, of course.
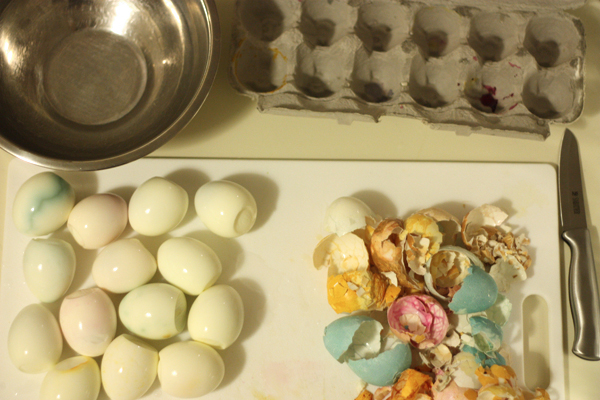
The carnage was swift and all-encompassing. No egg escaped.
Deviled eggs are staples at every potluck, family reunion, company picnic (unless you hang out with a vegan crowd, I suppose). You’re always the hero if you bring the deviled eggs, and you always take home an empty dish. And they are SO EASY. Peel ’em. Slice ’em. Gut ’em. Mash the yolks, spoon back into the eggs, and sprinkle with paprika. So if you still have some eggs hanging out in the fridge from the weekend, go ahead and make your own potluck this week – you won’t even have to fight your distant cousin for the last one on the platter.
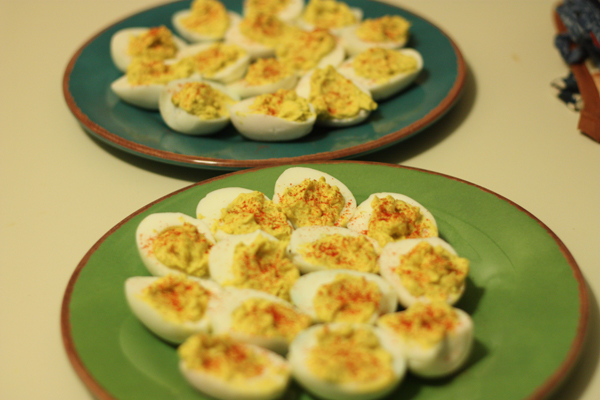
Deviled Eggs
Adapted from my mom’s recipe (and actually measured this time)
12 eggs, hard-boiled
1/4 c Miracle Whip (Don’t judge. Trust me on this one, it makes delightful deviled eggs.)
1/8 c yellow mustard
1/2 tsp black pepper
1/4 tsp salt
1/4 tsp garlic powder
paprika, for sprinkling
Place eggs in a large pot of salted water. Boil eggs to desired hardness (I boil mine for 20 minutes). Run cool water over eggs, then drain and place in the refrigerator to cool.
Once eggs are cool, remove shells, rinse, and pat dry. Slice eggs in half and collect yolks in a medium-sized bowl. Mash yolks roughly with a fork. Add Miracle Whip, mustard, salt, pepper, and garlic. Mix until yolks reach desired smoothness. Personally, I like it a little chunky. Taste yolk mixture and add additional Miracle Whip or mustard as necessary. Spoon yolks back into whites, overfilling the rim slightly. Once all eggs have been filled, sprinkle with paprika.
Try to avoid eating them all at once. Good luck with that.
Vegetable Egg Dyes
Adapted from Twig and Toadstool and Big Sis Little Sis
2 c beets, grated (red dye)
1 head red cabbage, shredded (blue dye)
3 T turmeric (golden dye)
white vinegar
salt
Place each ingredient in a different pot. Add to each pot 1 T white vineger and 1 T salt. Fill beet and cabbage pots with water until covered. Add 3 cups water to turmeric pot. Bring each pot to a boil, then boil covered for 15 minutes (keep an eye on the beets, or you’ll end up with purple juice boiling all over your stove… like me).
Strain each dye through a fine strainer over separate bowls and press contents to release remaining juices. Let dyes cool for 30 minutes before pouring into mugs.
If you haven’t already done so, hard-boil as many eggs as you plan to dye. Let them sit in a cool water bath until they can be handled without burning your skin off. To create stencils, use a variety of leaves and flowers. We had the most luck with flat leaf parsley and dill… I suspect thin, flexible plants work well because they will stick to the eggs with relative ease. With the leaves in place, tightly enclose the egg in a 2-3 inch section of panty hose (white, if you can find them) and tie off with a rubber band or twist tie. Carefully place eggs in dye mugs. The depth of the color will depend on the length of time it remains in the dye, so now is a good time to start tackling the giant mess in your kitchen.
After you remove the eggs from the dye, carefully snip away the hose and remove any plant residue from the eggs. Resist the urge to rinse the eggs (I think that’s why our first red ones turned brown). Place them on their edges in an egg carton and let them dry.
If you do try this, please let me know how it goes. Our results improved with cooler dye and longer dye time, so I’m hoping that next year’s eggs will all look a little more awesome and a little less brown.

Sierra
April 26, 2011 @ 12:19 pm
We totally used to color our eggs this way, except I very specifically remember using red and yellow onion skins for reddish and yellow. For the leaf patterns, I feel like yarrow worked the best because it has a bigger leaf than the other herbs we tried. Instead of brown, though, we ended up with a bunch of weirdly purple, bruise colored eggs that the magpies found in the morning and snatched up out of the yard. Also, naturally colored eggs are REALLY hard to search for outside :)
Sarah
April 26, 2011 @ 5:47 pm
I have never tried to use vegetable dyes, but it sounds like fun! The only problem I can see is that I despise the smell of cooked cabbage…but I could probably get past that. We also always used the standard effervescent dye tablets to dye our eggs, and I never researched another way because, frankly, I never thought about it. Thanks for the idea! :)
Suzy
April 26, 2011 @ 10:05 pm
Great post! Very fun, chatty, and the final results were beautiful, except for the eggs which weren’t! HA! Maybe I will have to try dying them this way some spring…..if I ever have a daughter or two back in this part of the country! Thanks!